Wine Braised Short Ribs
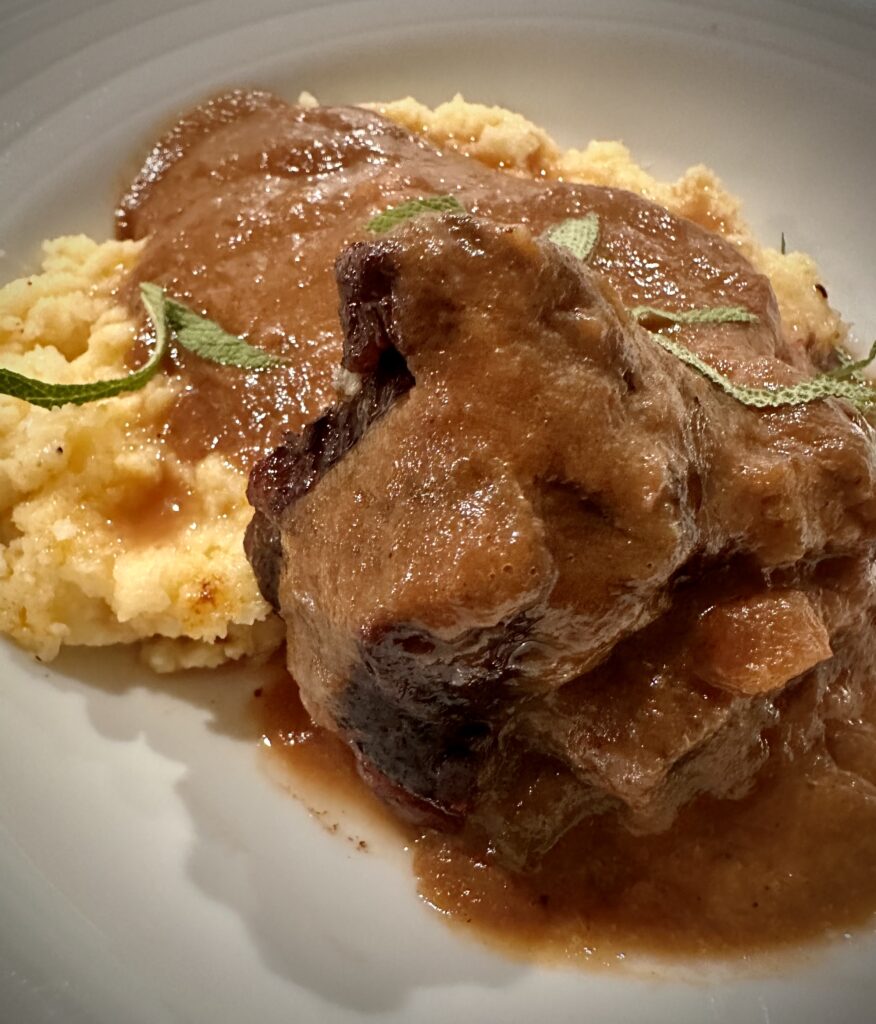
Short ribs slowly braised in red wine sauce made with aromatic vegetables and fresh herbs until they are completely fall-apart tender. Serve over creamy polenta or mashed potatoes for a boldly flavored and beyond comforting meal!
You don’t need to wait until the holidays to make these Wine Braised Short Ribs. This recipe is easy enough for a lazy weekend dinner!
Enjoy!
Wine Braised Short Ribs
Short ribs slowly braised in red wine sauce made with aromatic vegetables and fresh herbs until they are completely fall-apart tender.
Ingredients
Method
- Preheat oven to 300°. Season short ribs heavily with salt and pepper. Heat oil in a large Dutch oven over high heat. Brown short ribs on all sides, about 8 minutes per batch. Remove the ribs and transfer to a plate. Pour off all but approximately 2 Tbsp. drippings from pot.
- Add onions, garlic, carrots, and celery to pot and saute about 5 minutes. Add tomato paste; cook, stirring constantly. Stir in water, wine, then add short ribs with all the juices. Add the herbs, bring to a boil, cover, and transfer to oven.
- Cook in the oven until short ribs are tender, 3–3 1/2 hours. Spoon fat from surface and discard. Transfer the ribs to a plate. Using a handheld blender puree the sauce. Reduce until desired thickness. Adjust the salt and pepper to taste.
- Serve in shallow bowls over polenta or mashed potatoes with sauce spooned over.
Apple Fritter Cake
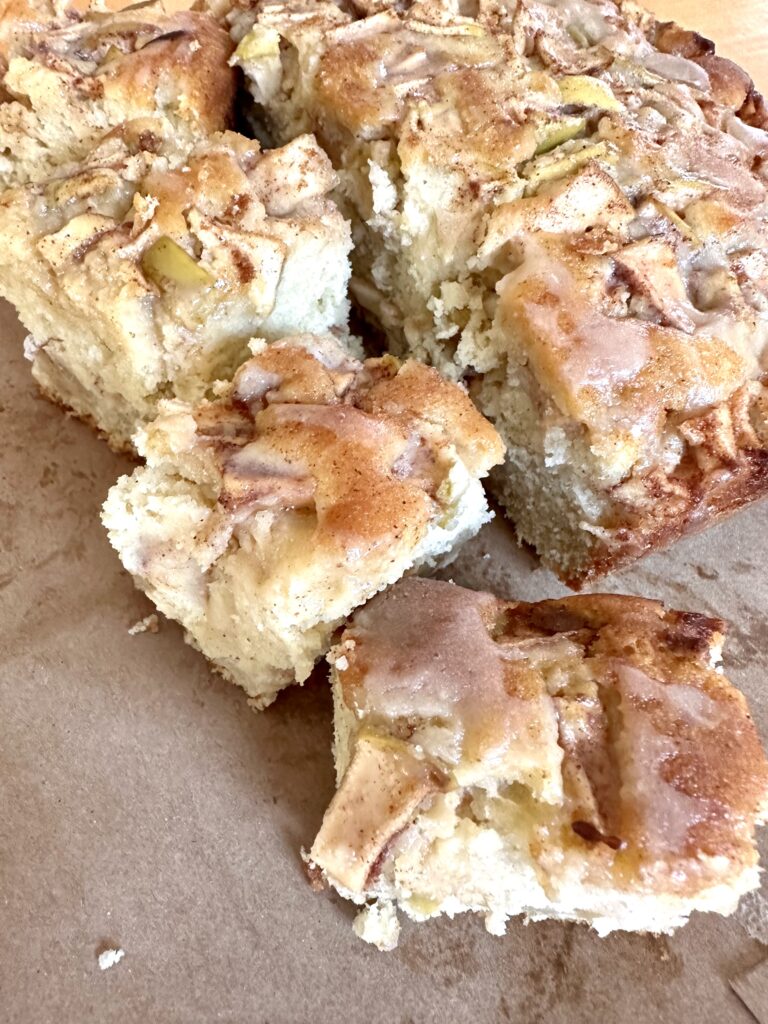
I’m going to call this Apple Fritter Cake recipe a colab. The original recipe and inspo came from King Arthur Baking site but I’ve changed a couple measurements and ingredients. The result is still the same: a delicious holiday treat described as “apple fritter without a fryer.”
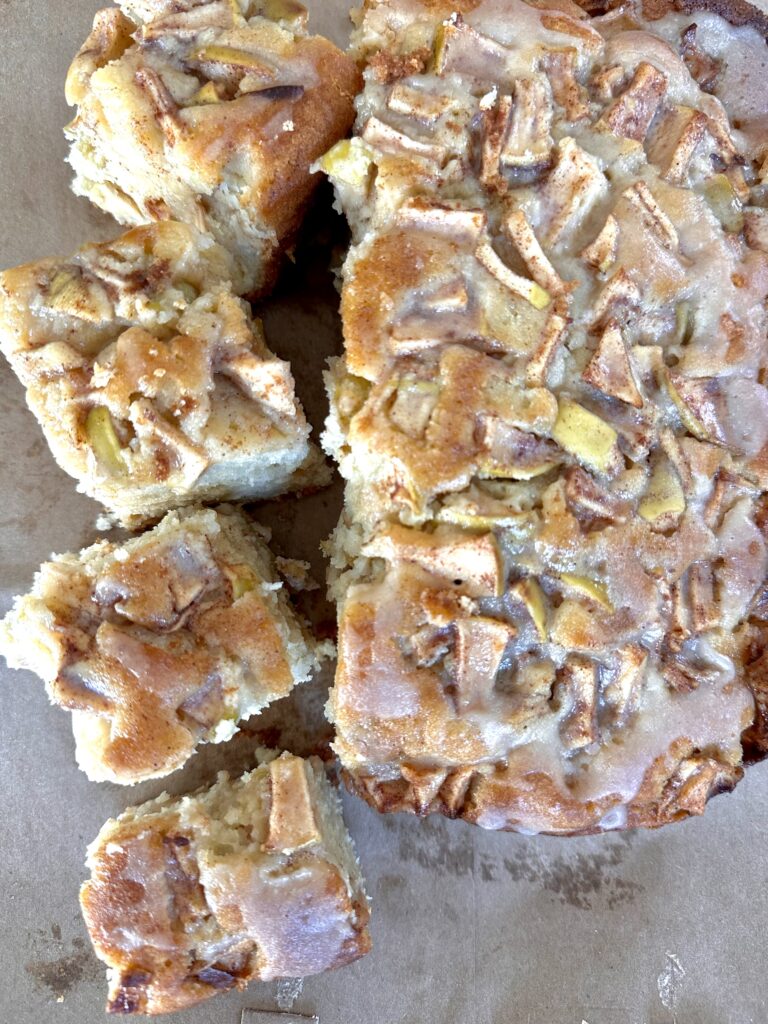
Couple of imperatives to make this Apple Fritter Cake worth your time and calories: green apples ONLY, freshly ground nutmeg and patience – this cake takes a long time to bake!
Enjoy it!
Apple Fritter Cake 2022
Layers of cinnamon-scented sweet & sour apples topped with silky vanilla coffee cake. It fits the "season to be jolly" perfectly!
Ingredients
Method
- Preheat oven to 350°F. Grease a 9"x5" or 8" square pan and line with parchment. A 12” loaf can be uses too but baking time may vary.
- Prep the filling. Mix the ingredient and set aside.
- Make the cake batter by mixing the dry ingredients in a large bowl or the bowl of a stand mixer (I used a mixer) Add the butter and mix until the mixture has a sandy consistency.
- Add the eggs one at a time, mixing well between additions.
- Add the vanilla and milk mixing it well. Once the milk is incorporated and the batter looks like "batter" mix at high speed for a couple of minutes.
- Assemble the cake by spreading half the batter in the prepared pan. Spoon half the apple mixture over the batter and press in lightly. Spread the remaining batter over the apples and spoon the remaining apples (and juices) on top.
- Bake for 1 hour and check if it is done (you know the toothpick check!!!) I used a 9"x5" square pan and it took 1 1/2 hours to get it fully cooked. Remove it from the oven and cool for 20 minutes. Tip it out of the pan onto a rack to cool completely.
- Combine the glaze ingredients, stirring until smooth. Drizzle over the cooled cake.
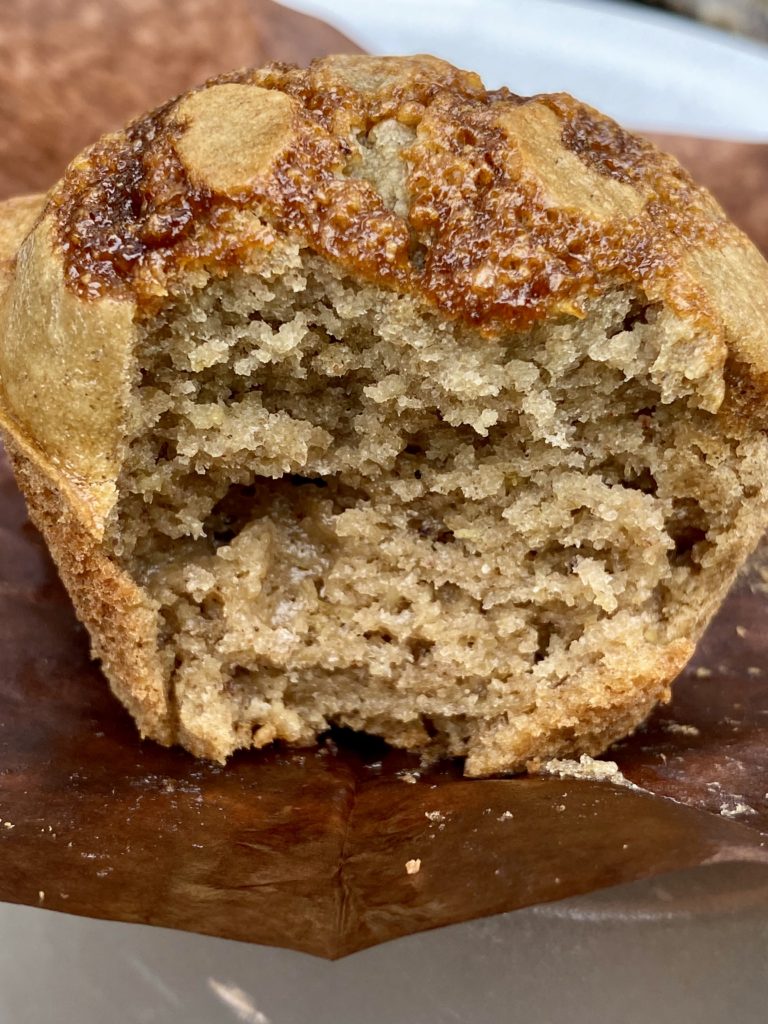
Blender Banana Oat Muffins
I’ve made these Blender Banana Oat Muffins enough times to say “we got sick of it!”…at least for now!
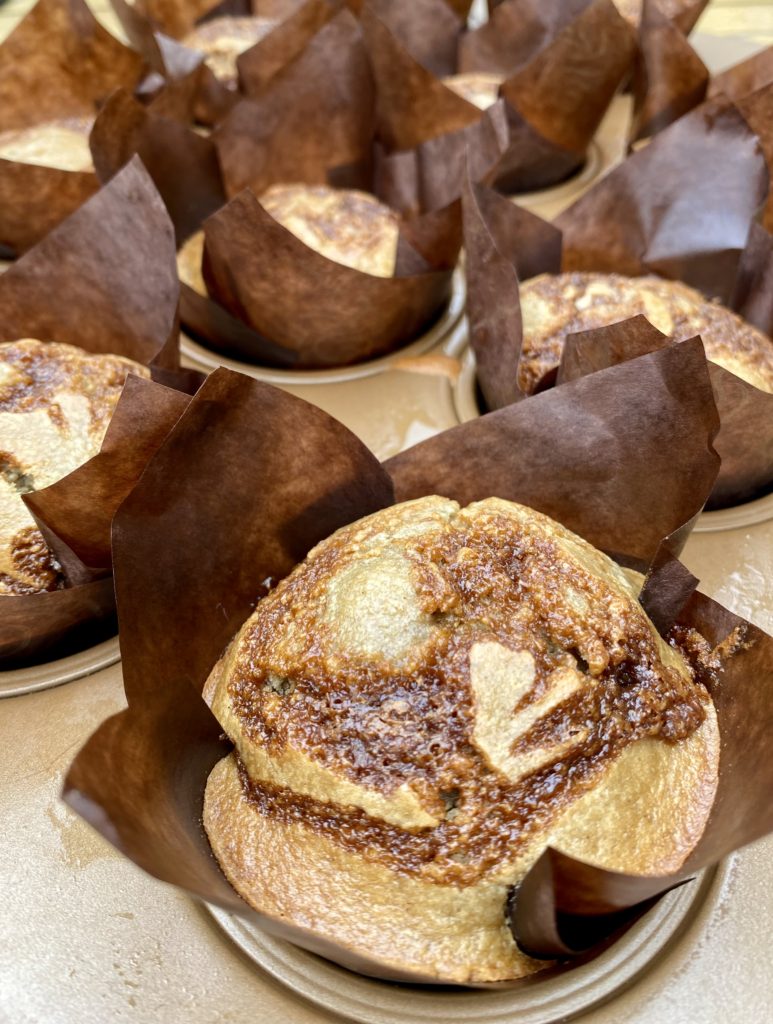
This Blender Banana Oat Muffins recipe started as an attempt to make a “healthiesh” banana muffin version. This recipe got its “GF” status accidentally. After tweaking with different flours the oats+tapioca starch combo worked best and the moistest-most flavorful-easy to make banana muffins were born!
Until we are cured from banana oats muffin fever and ready to crave it again, here is the recipe.
Ingredients
Equipment
Method
- Preheat oven to 350°F. Grease or line the wells of a standard 12-cup muffin tin and set it aside.
- In a blender or food processor, place the first 7 ingredients (liquid ingredients + sugar) and blend on high speed until well-blended.
- Add the rest of the ingredients (dry) EXCEPT for the BAKING SODA! Blend in high speed until well-blended.
- Add the baking soda to the muffin batter for less blending it on slow for a few seconds. NOTE: The batter should be liquidy and thin.
- Divide the batter evenly among the the muffin tin slots, reserving approximately 1/8 cup or 2-3 tbsp (from blender scrapping)
- Mix the reserved batter with the additonal sugar and cinammon and drizzled evenly over each filled muffin slot.
- Place the muffin tin in the center of the preheated oven and bake for 20-30 minutes, or until a toothpick inserted in the center of a muffin comes out with a few moist crumbs attached. Remove from the oven and allow to cool in the baking sheet for 10-12 minutes before transferring to a wire rack to cool completely.
Romesco Sauce
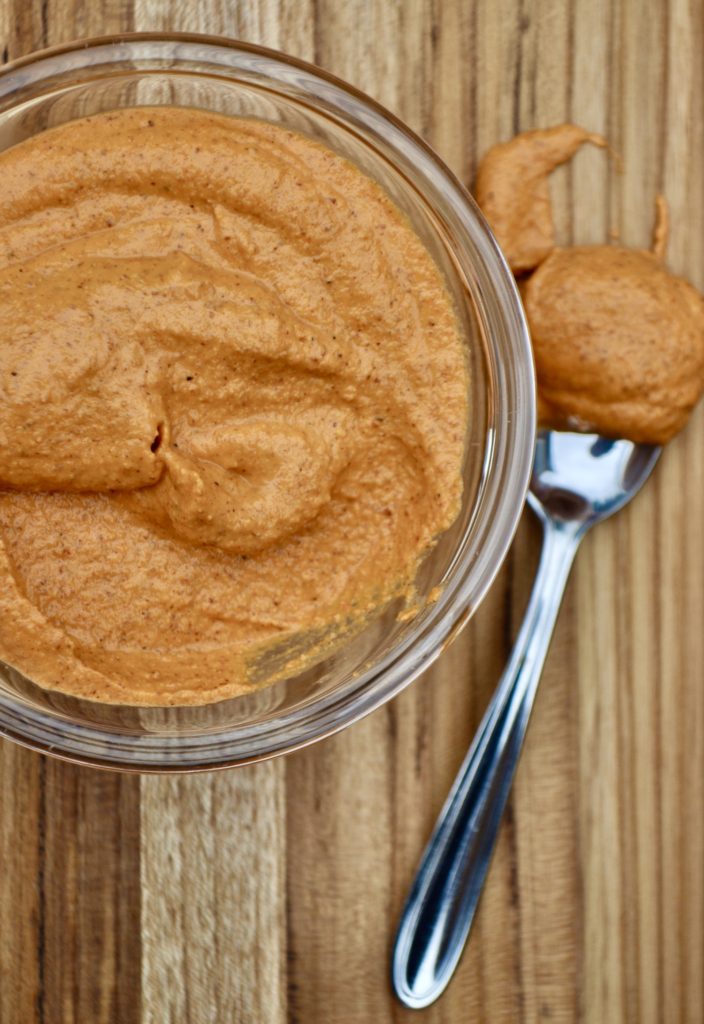
If you’ve never tried Romesco sauce, you haven’t lived yet. This smoky-garlicky-peppery sauce can be put on basically everything: toast, chicken, roasted potatoes, sandwiches, pizza and pasta!
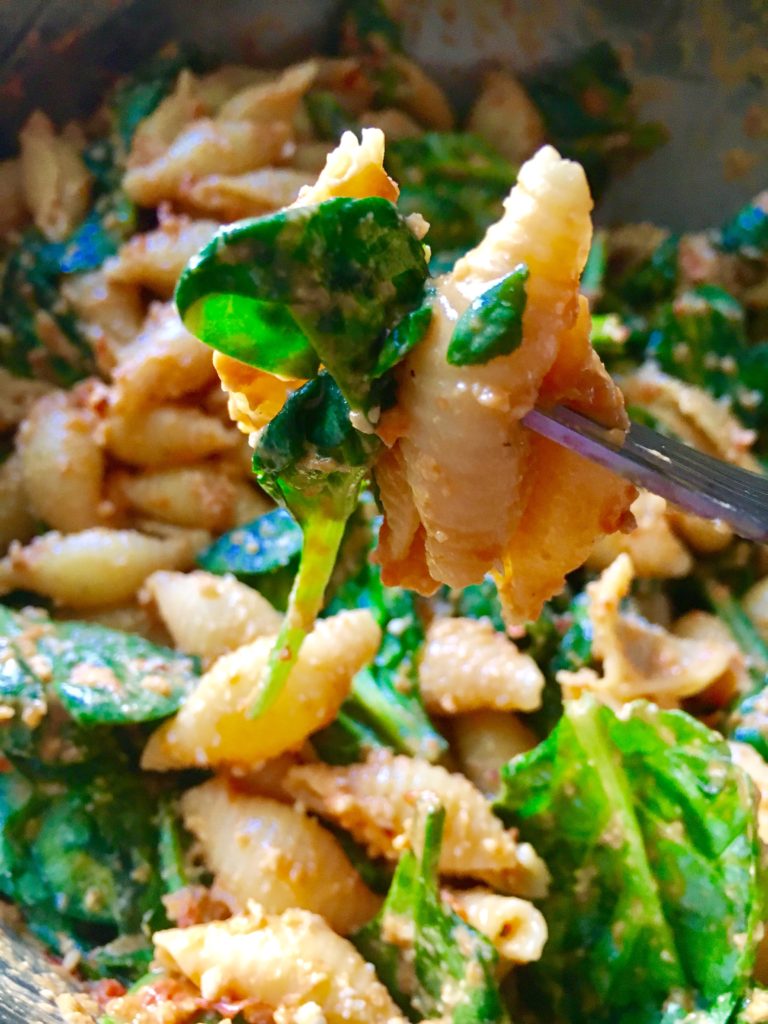
This Romesco Pasta Salad is our family favorite but you can put this sauce on practically everything! And to all my vegan friends out there…YES, my Romesco Sauce is divinely vegan!
A couple of notes:
- Jar roasted peppers works as good as oven roasted peppers for this Romesco Sauce recipe. Also skipping the roasted tomatoes the “traditional recipe” calls for.
- Don’t skip the vinegar! It tempers the raw garlic pungency.
- Spanish Pimentón (dulce/sweet and picante/hot) it’s a must. You can find it anywhere this days (HomeGoods, Whole Foods, Vons, Amazon.) It adds extra smoky flavor and heat.
- I used any type of roasted almonds or a mix of different ones. My favorite is Blue Diamond Smokehouse – no sponsor! It just adds more smokey flavor to the Romesco Sauce.
Please let me know how your Romesco Sauce turns out in the comments! I can’t wait to hear what you serve it on.
Romesco Sauce
Versatile and full of flavor, this Romesco Sauce can be put on practically everything from toast to scramble eggs!
Ingredients
Method
- In a blender or food processor, combine everything but the olive oil. Blend, starting on low and increasing the speed as it starts to blend.
- Taste, and adjust salt if needed. Serve or store in a jar in the refrigerator for 7 to 10 days.
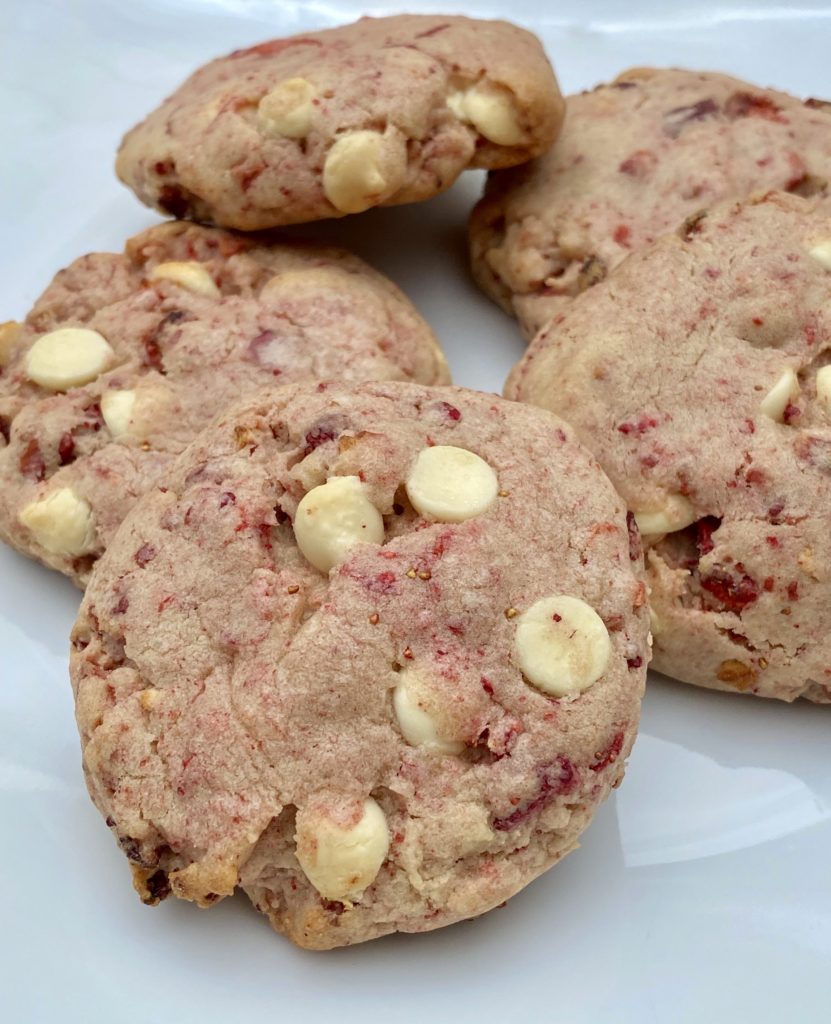
Strawberry Shortcake Cookies
These light and cakey strawberry cookies are made with freeze-dried strawberries, white chocolate chips, and a pretty basic cookie dough. They are super easy to make which makes them even more addicting!
Ingredients
Method
- Preheat oven to 350°. Line a large baking sheets with parchment paper or grease the baking sheet with cooking spray.
- In a medium bowl, whisk together flour, baking powder, and salt.
- In a large bowl using a hand or stand-up mixer, beat butter, sugar, and brown sugar until light and fluffy. Beat in egg and vanilla extract, then stir in flour mixture until just combined.
- Crumble the freeze-dried strawberries slightly – I crumble them in their own package. Gently fold in strawberries and white chocolate chips.
- Using a medium cookie scoop, scoop the dough and roll into balls. Place it on the baking sheet flattening them slightly.
- Bake until cookies are set and just golden around edges, about 18 minutes.
Quick zucchini bread
This quick zucchini bread is not only easy to make but also THE best zucchini bread I’ve ever made…and keep making. It is a sweet and savory, full of flavor, moist bread! Did I really say moist?
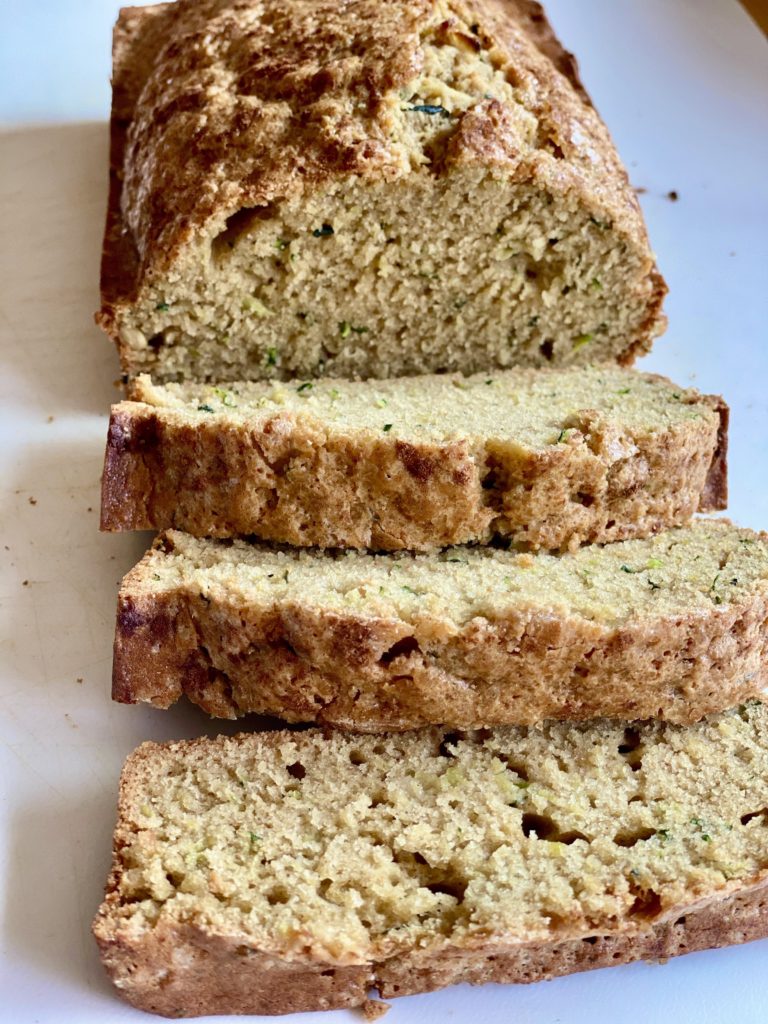
I honestly have no idea what makes this zucchini bread so outstanding. there’s really no secret ingredient or technique. It’s straight up simple and easy to make. The only thing I noted is that, when using coconut oil, the loaves turn out more moist and silky. Other oils are totally fine too, but coconut oil is where is at!
So here is the recipe. It may not be the ultimate zucchini bread recipe but it’s definitely ‘dealicious’ enough to keep coming back to!
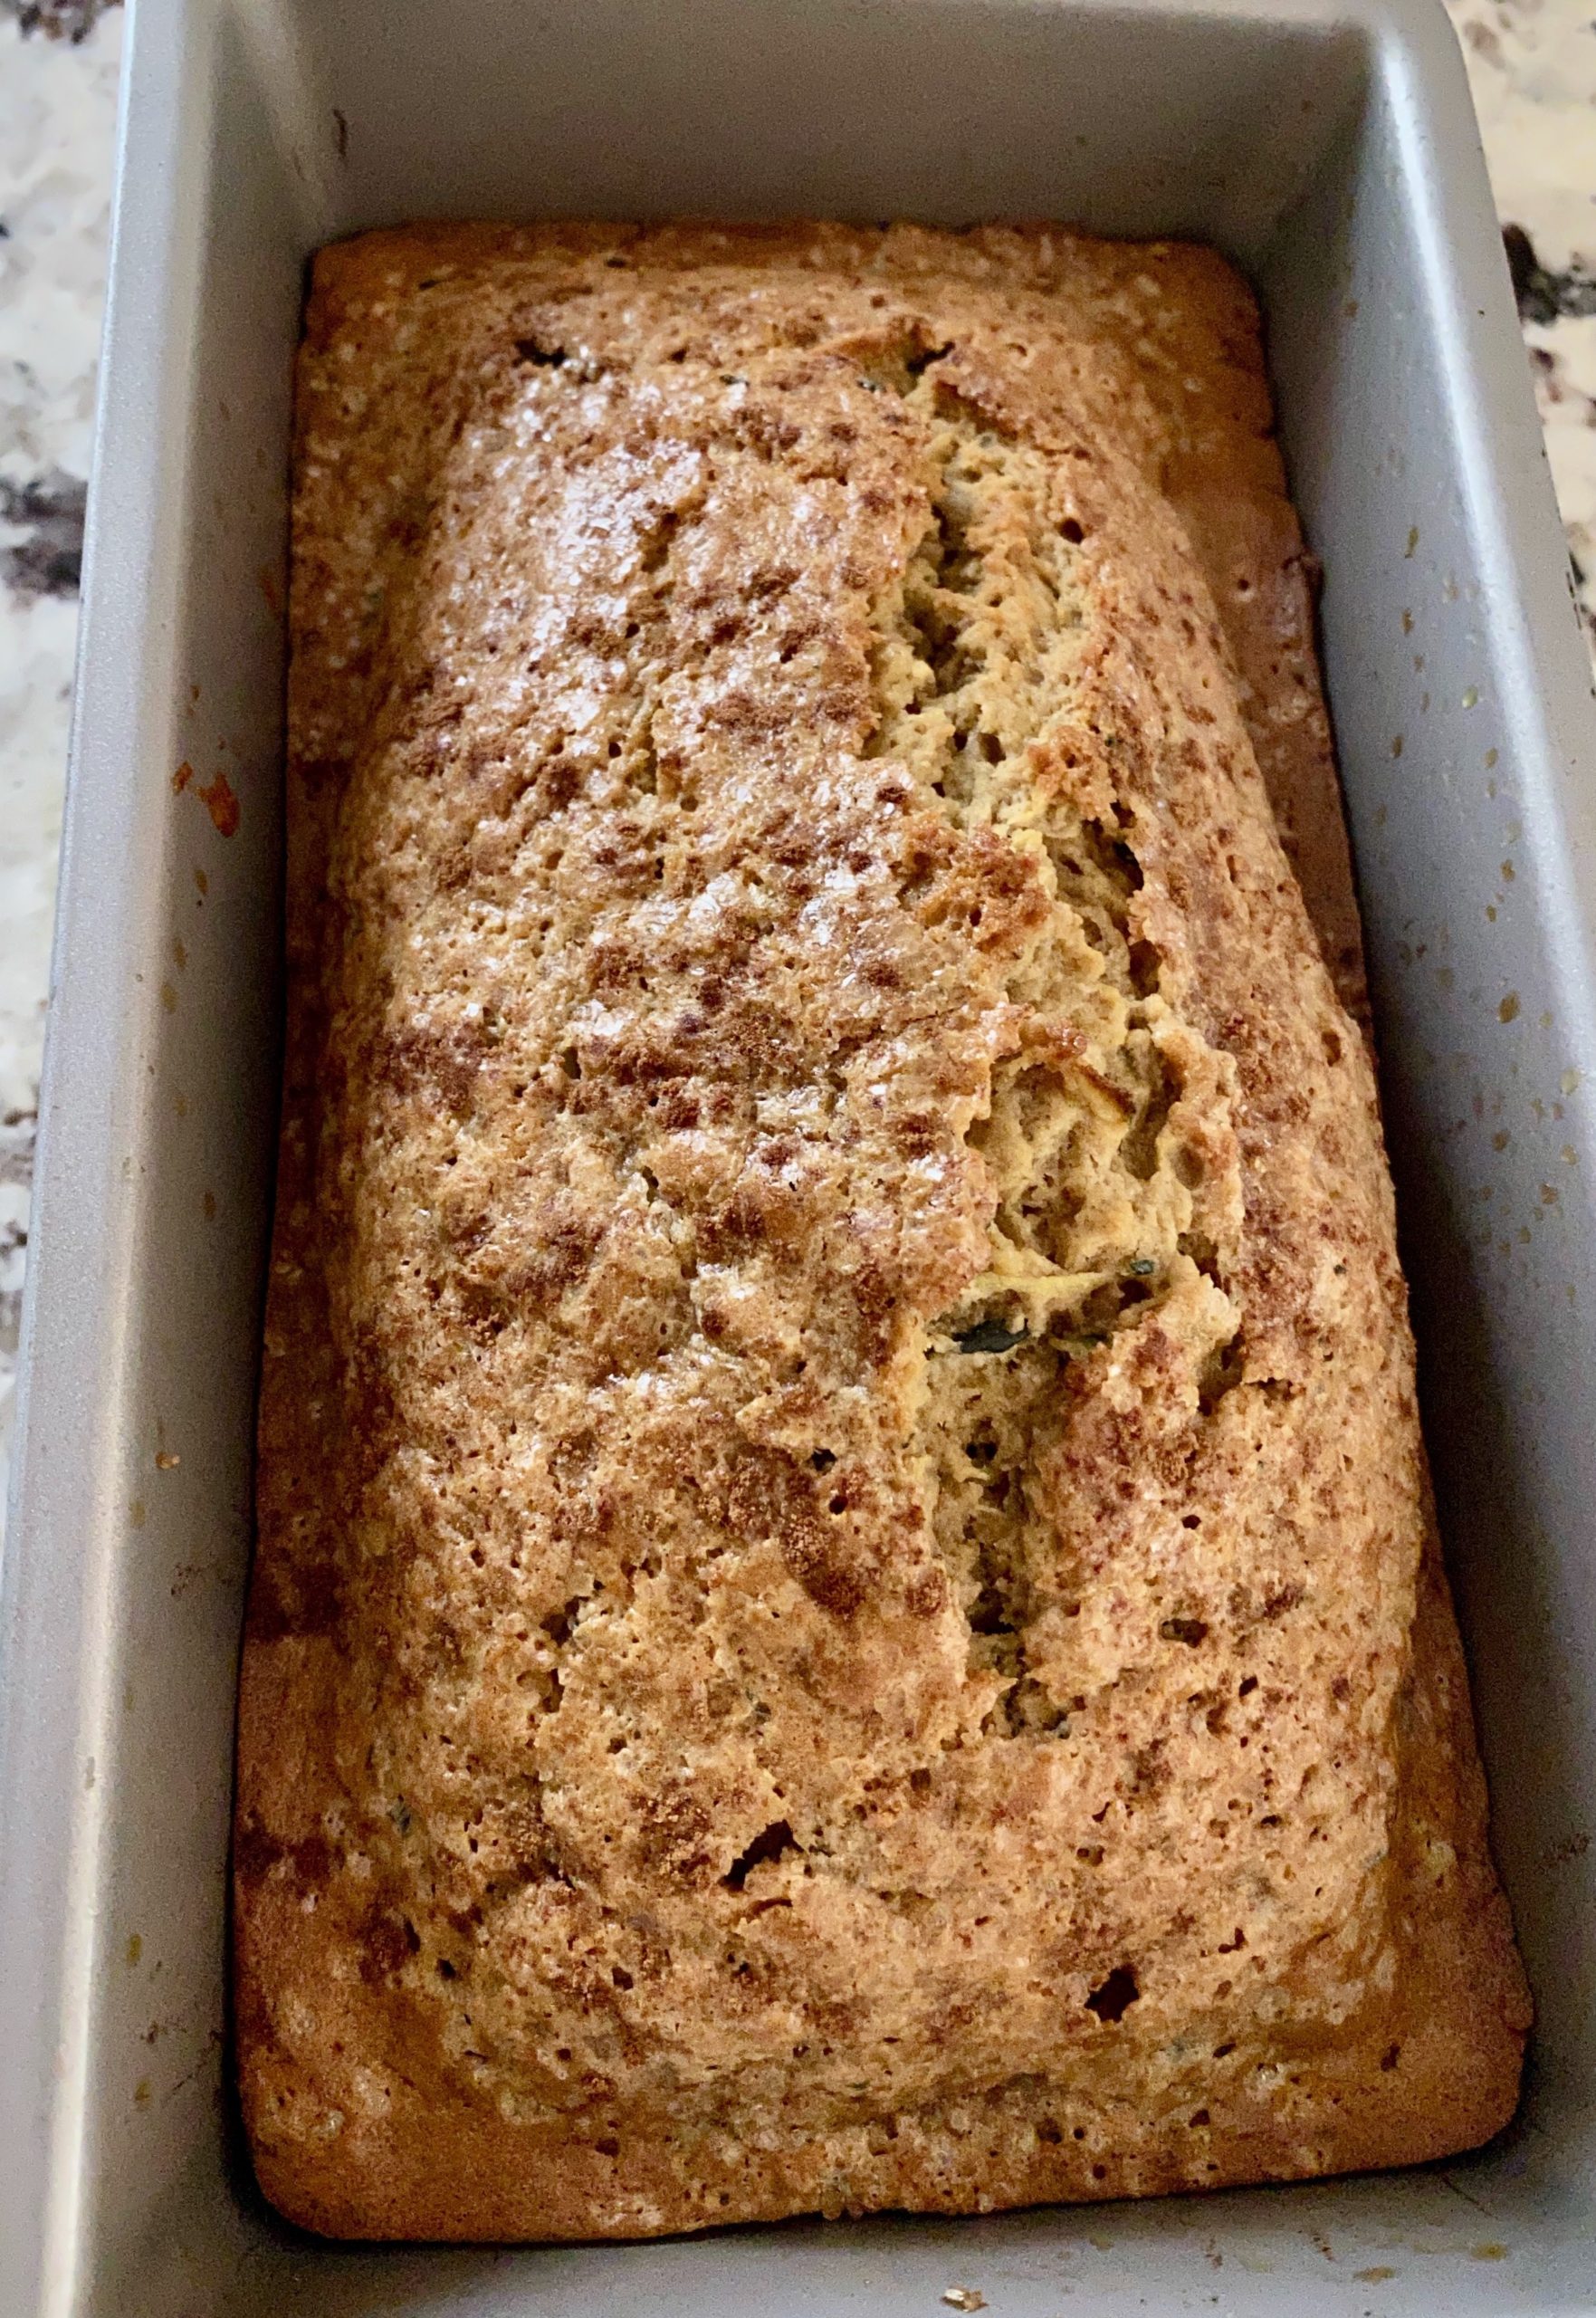
Quick Zucchini Bread
This is may not be the ultimate zucchini bread recipe but it may be the only zucchini bread recipe you will ever need!
Ingredients
Method
- Heat oven to 350 degrees F. Coat a 6-cup or 9×5-inch loaf pan with nonstick spray or oil. Grated the zucchini in a large bowl. Once grated add oil, eggs, sugars, vanilla, and salt.
- Add sugars and all spices. Mix well. Sprinkle the baking soda, and baking powder over surface of batter and mix until combined.
- Add flour and mix until just combined. Pour into prepared loaf pan and smooth the top. Sprinkle with turbinado sugar & cinnamon.
- Bake for 45-50 minutes, until passing the toothpick test.
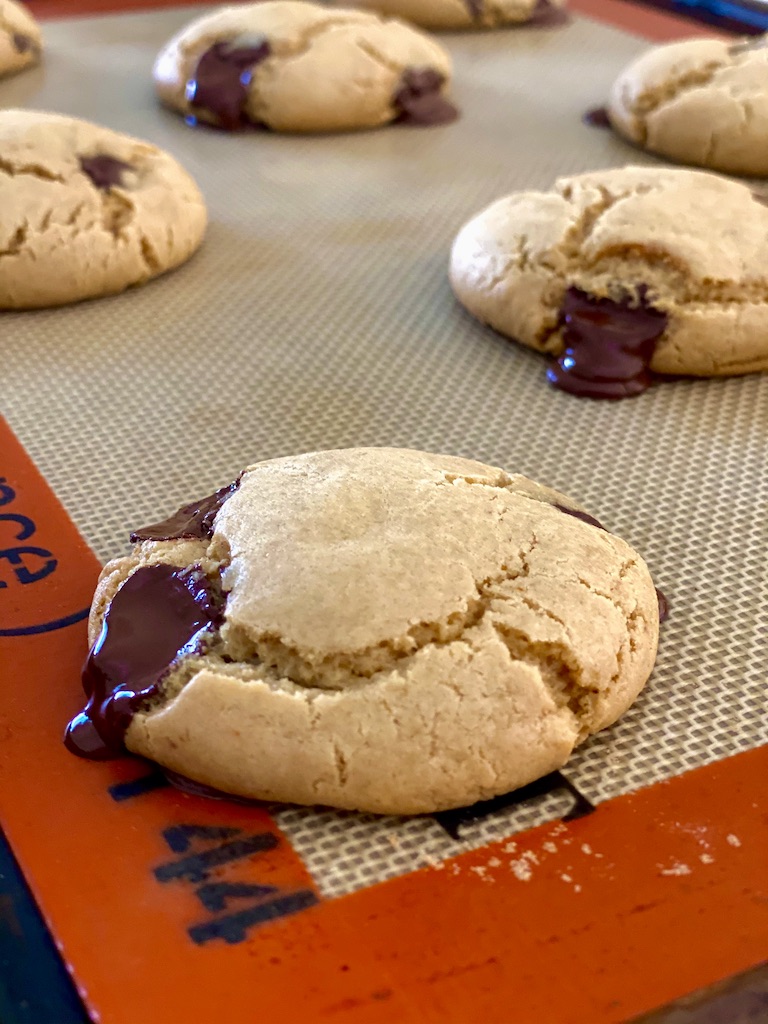
Miso chocolate chip cookies

Yes! Miso. You read that right. No! I didn’t invent it. Apparently, miso cookie recipes have been around for a while. Maybe the best ingredient ever known to the history of cookies.
Sweet-savory is my favorite kind of sweet and these Miso chocolate chip cookies fit perfectly into my cookie universe!
Before we jump into the recipe, here are a couple of notes:
- You can substitute coconut oil for unsalted butter. Just make sure it is unsalted since the miso paste is already pretty salty.
- I used dark chocolate for this recipe but I think semi-sweet or even white-chocolate chips could be good too.
- If you make this Miso chocolate chip cookies recipe please leave me a note here or on my Instagram post.
Miso Chocolate Chip Cookies
These Miso Chocolate Chip Cookies are everything perfect cookies inspire to be! Crispy ends, chewy center, and just the perfect sweet-salty-nutty balance!
Ingredients
Method
- In a large bowl mix all dry ingredients together.
- Using a stand-up mixer or hand mixer cream the coconut oil, sugars, vanilla. Once it is creamy and somewhat fluffy lower the speed and add the egg. Mix slowly until combined.
- Add the dry mixture slowly. Once combined add the chocolate chips to the cookie dough. I prefer doing this step manually with a spatula.
- Scoop up portions of the dough and roll it with your hands into balls. Place them onto a baking sheet or large plate and let it chill in the fridge for 40 minutes or freezer for 12 minutes.
- Preheat oven at 350 degrees. Line a couple of baking sheets with parchment paper or silicone pastry mat.
- Transfer the cookie dough balls to the lining baking sheets. Make sure to space them living room for spreading. Bake for 12-15 minutes or until edges are slightly brown.
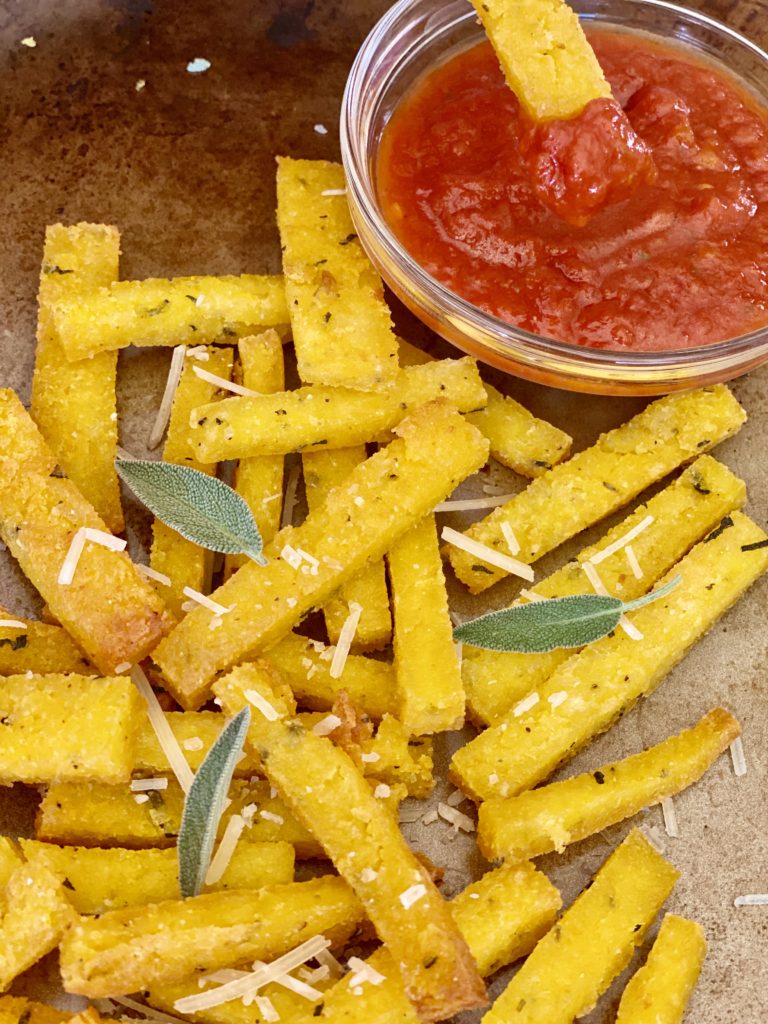
Sage Parmesan Baked Polenta Fries with a side of honesty!
Extra crispy, creamy on the inside, and cheesy all around , these Sage Parmesan Baked Polenta Fries are such a pain to make! The easiest part of this recipe is making the instant polenta. The hardest part is turn it into crispy oven-baked polenta fries. It’s an easy recipe but requires time. So I don’t make them often but when I do they disappear fast.

Here is the thing, after adding garlic, parmesan, sage, butter to the creamy cooked polenta, it needs to be spread out in a square baking dish and placed in the freezer until the polenta stiffens up. This doesn’t take long but adds more time (15-20 minutes) while tries my patience.
Then you pull the polenta out of the pan and cut it into fries. No, it’s not that that easy because cutting them evenly is challenging. Stopping my hungry self from eating the corners and edges it’s a torturous task.
Once the polenta is cut into some kind of ‘fries’ shape, you need to toss the fries with olive oil, but you have to do this gently or they may fall apart because now they have been out of the freezer for too long.
Then bake one side until crispy – 15 minutes. Don’t you dare flip them when they are not ready. They will fall apart or still be stuck to the pan. Exercise patient. Flip them over – one by one. 15 more minutes until crispy AF and now you have the most delicious and addicting Sage Parmesan Baked Polenta Fries ever!
A couple of notes:
- Make a double batch. These are laborious and it’s frustrating how fast they go.
- Omit or replace sage with whatever herb(s) your heart desires. I just happened to have a lot of sage in the garden.
Sage Parmesan Baked Polenta Fries
Easy to make batch of instant polenta turned into crispy oven-baked polenta fries that are so delicious! Extra crispy and yet creamy inside serve them with a side of marinara sauce or just eat it plain out of the oven!
Ingredients
Method
- Bring 2 cups water to a boil in a medium saucepan. Slowly whisk in the polenta, garlic ,sage, parmesan, and season with salt and pepper. Stir until the polenta is soft and thick, about 3-5 minutes. Turn the heat off, cover the pot, and let the polenta sit 5 minutes.
- Line an 8×8 square baking dish with parchment paper. Spread the polenta in an even layer in the dish. Freeze 15-20 minutes, until set, or 1 hour in the fridge.
- Preheat the oven to 450F. Take the polenta out of the baking dish and cut into thin or thick "fries" shape. Spread some olive oil on a baking sheet. Place the fries on the prepared baking sheet and gently coat them with more olive oil. Spread the fries in an even layer. Transfer to the oven and bake for 15 minutes, then carefully flip. Bake for 15-20 minutes more until crispy.
- Season with salt, some extra parmesan, and sage. Serve with a side of marinara sauce or ketchup. ENJOY!
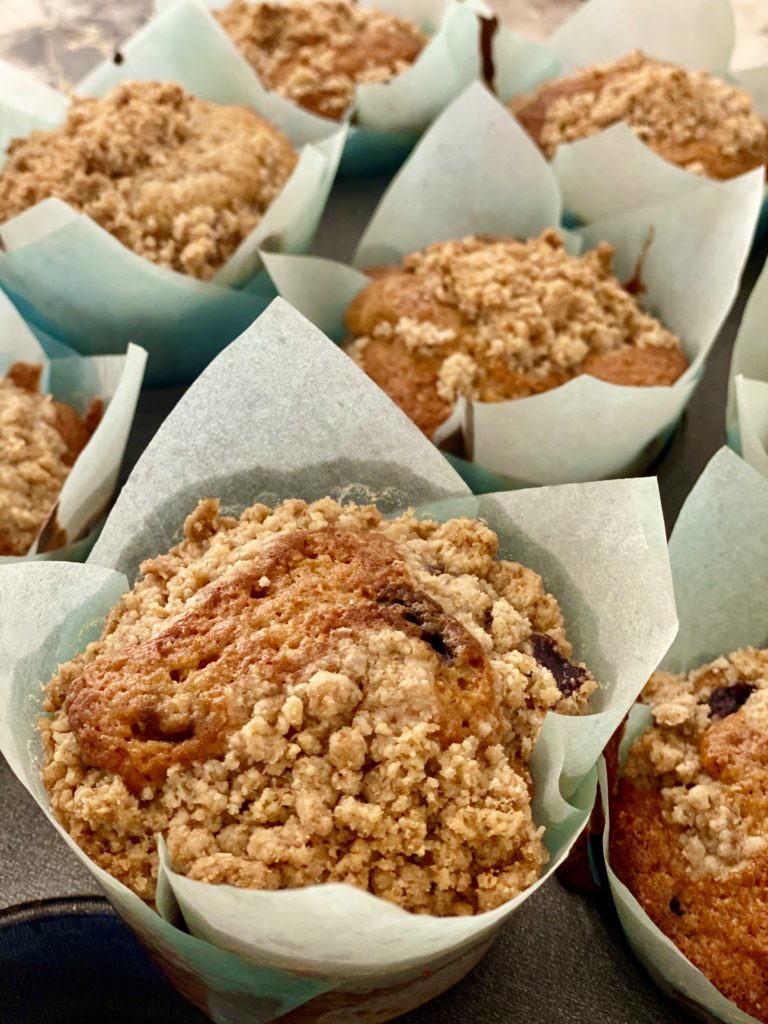
Whole Wheat Blueberry Muffins with Crumb Topping
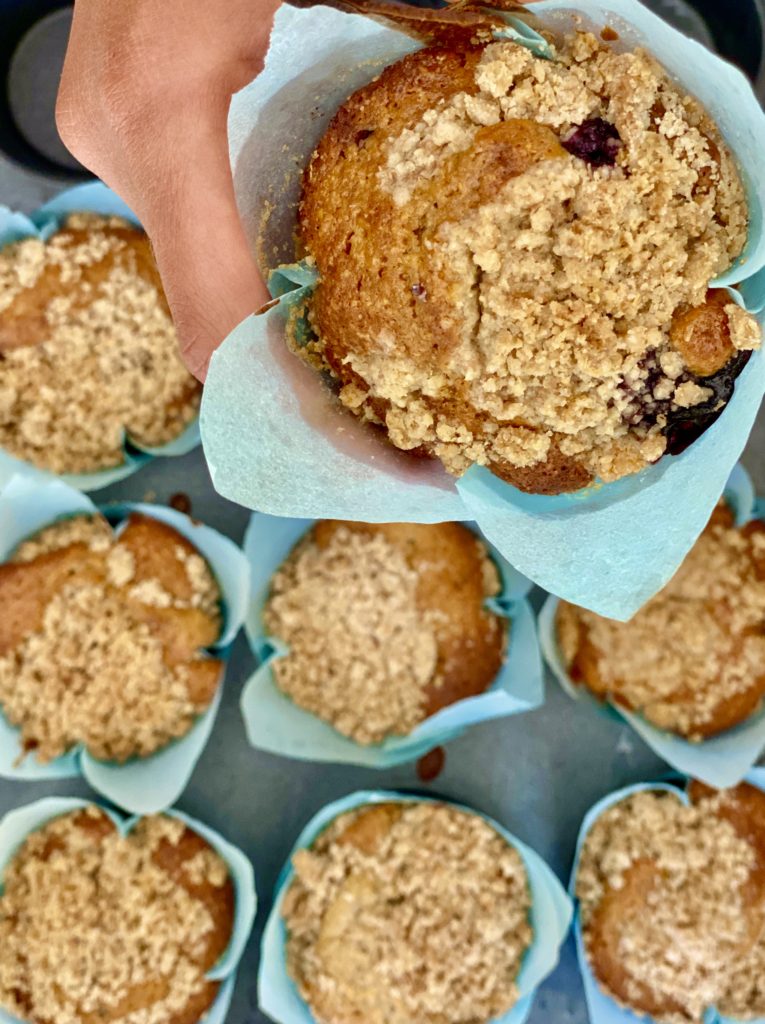
I made these Whole Wheat Blueberry Muffins for the first time at baking class in the Santa Monica Gourmandise School circa 2013. I haven’t stopped baking them since.
I have adapted the recipe a little bit by adding the crumb topping which, although optional, it’s highly recommended.
Whether you use fresh blueberries or frozen berries, it’s important to toss them in a little flour before folding into the Whole Wheat Blueberry Muffin batter. The coating keeps the blueberries from sinking to the bottom of the muffin tin/cup.
Add a few extra blueberries on top before adding the crumb topping for even more bursting flavor.
Ingredients
Method
- Preheat the oven to 350. Line a 12 cup muffin tin with cupcake liners.
- Mix wet ingredients in a large bowl until the butter just forms tinny pebbles.
- Pour the dry ingredients over the wet. Mix until combined. DO NOT over mix – it's ok to have a few streaks of flour or butter.
- On a separate bowl toss the blueberries lightly with the the 2 tbsp of flour. Add blueberries to the batter and mix gently.
- Spoon batter into prepared muffin tin.
- Sprinkle with crumb mix (optional) or coarse sugar.
- Bake at 350F for 20-30 minutes or until golden all over.
Crumb
- In a small bowl, mix together 1/3 cup brown sugar, 1/4 of whole wheat flour, pinch of salt. Add in 2 tablespoons of melted butter. Mix until mixture resembles coarse cornmeal.