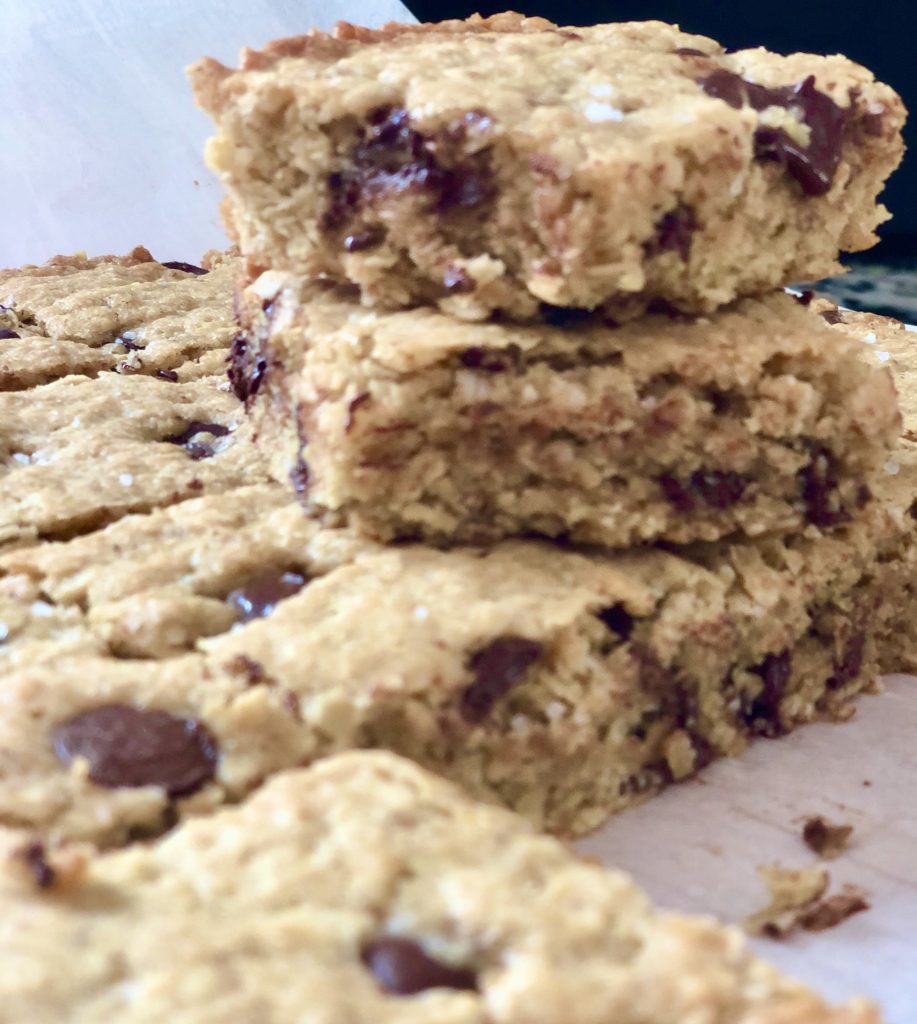
These one-bowl healthyish oatmeal chocolate chip bars are the perfect way to indulge without remorse. The bars come with a little less guilt than average cookies as they are made with oats, almond flour, coconut oil and olive oil, and less sugar than most cookie recipes. They are also ‘baking haters’ friendly as they require very little effort and are practically impossible to screw up.
A couple of notes:
I used 1/2 of olive oil and 1/2 coconut oil because quarantine times calls for whatever you have handy. Any kind of oil or even butter will work here but if you opt for butter the cookie bar will loose it’s “healthyish” status. Just sayin’.
Same goes for the flour. I used almond flour for balance but if you don’t have it handy you can totally use regular all purpose flour or even whole wheat flour.
Healthyish Oatmeal Chocolate Chip Bars
Ingredients
- 2 cup quick or old fashion oats
- 1 cup all purpose flour
- 1 cup almond flour
- 1/2 cup regular sugar
- 1/2 cup brown sugar
- 1 tsp baking powder
- 1/2 tsp salt
- 1 tbsp vanilla extract
- 2 eggs
- 1/2 cup olive oil
- 1/2 cup coconut oil
- 1 cup dark chocolate chips or chunks
Instructions
- Preheat the oven to 350 degrees F. Grease a 9×13 inch baking dish or line with parchment paper.
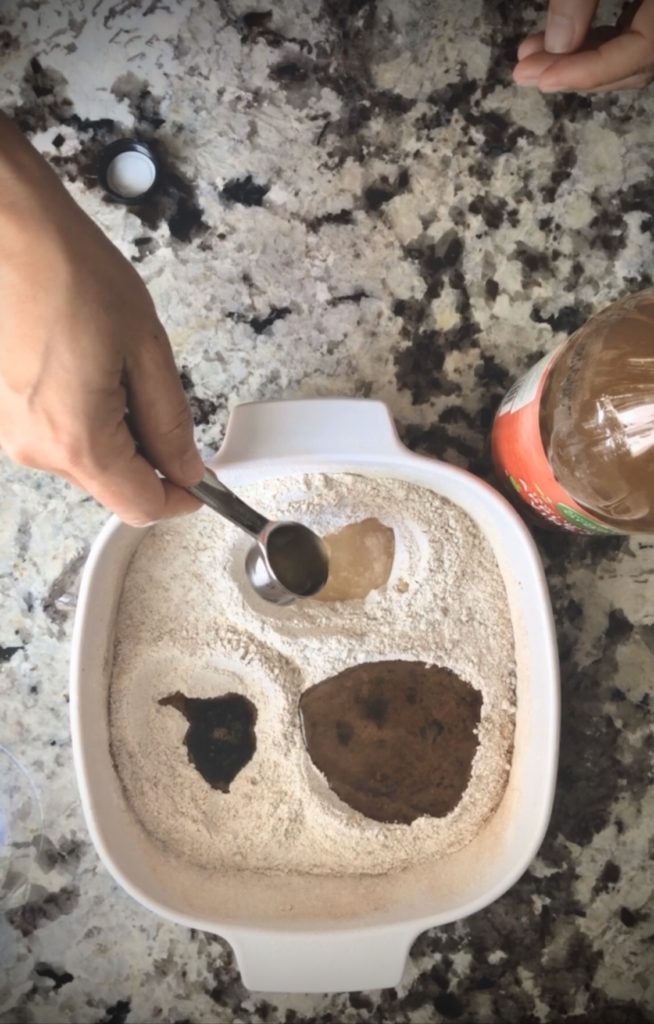
- In a large mixing bowl or the bowl mix the oatmeal, flours, sugars, baking powder, salt, coconut oil, eggs, and vanilla- in that order. Mix until all the ingredients are combined. The dough will be crumbly. Mix in the chocolate chunks.
- Press the dough into the baking dish. Bake 18-20 minutes or until the edges are set and the dough is golden. Sprinkle with flaky salt (not optional haha). Let it cool and cut into bars.