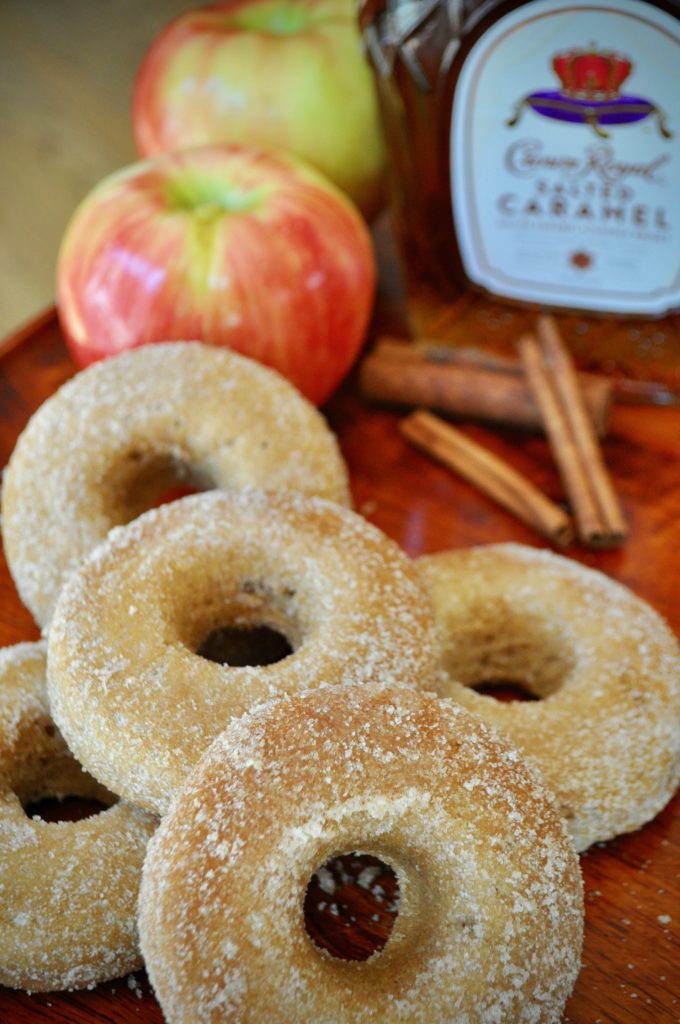
Coated in whisky butter and cinnamon sugar, these apple cider baked donuts have become a staple on our fall table
I’m wasting no time here telling you why it has been a while since I last posted a recipe. Time is such commodity these days. Although I have lots of recipes saved to be developed and published here, I’m choosing to skip them all and go straight to this apple cider baked donuts recipe. I made them yesterday and I needed to share the recipe right away before fall is over! Go make them. You can thank me later.
These apple cider baked donuts are somewhat dense and very muffin-like but once you coat them with the whisky+butter mix they become a little heavier with a moister crumb. Apple, cinnamon, spice and boozy butter taste all over. They taste and look like they’re straight from a bakery but with the ‘booze’ benefits.
Jump to Recipe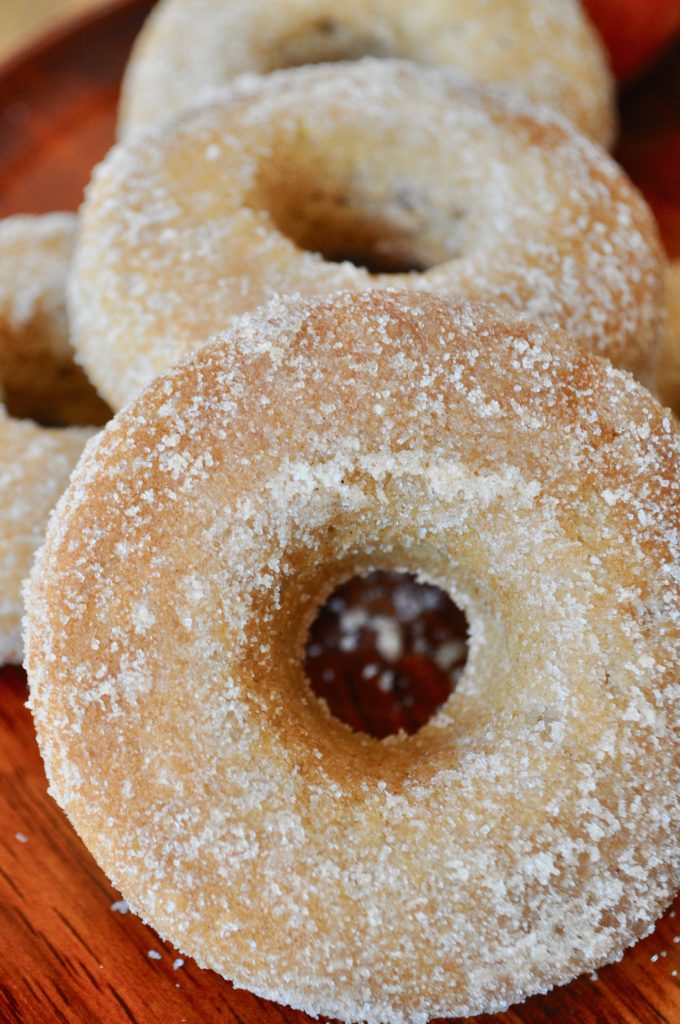
The trick to these apple cider baked donuts is to flavor and moist them with the whisky butter – I used Crown Royal salted caramel whisky for even more flavor. It locks in the moist and brings these light but full of spice donuts to another level. But, if you are not into booze in your donuts, the whisky can be replaced for maple syrup, honey or nothing at all. Butter with a pinch of salt will do!
These couldn’t be easier to make– and less messy than fried donuts! Here are some notes about the recipe:
- As mentioned, you can replace the “booze” for maple syrup, honey, or simply use the melted butter with a pinch of salt.
- You can use regular apple cider but I recommend using a hard cider. The fermentation in the hard cider reacts with the baking powder creating a creamier but fluffy donut batter. There are a lot of hard ciders out there, but I like the semi-sweet and deep flavor of Samuels Smith’s Cider. Plus, I sip on whatever is left after mixing the batter. Win win!

Apple cider baked donuts with whisky butter
Ingredients
Equipment
Method
- Preheat the oven to 350 degrees F. Spray four 6-cavity donut pans with nonstick baking spray (be generous.)
- In a large mixing bowl, combine the flour, baking powder, salt, cinnamon, nutmeg and lemon zest. Whisk it all together.
- In a liquid measure cup, combine the cider, buttermilk or yogurt and vanilla.
- In the bowl of a stand mixer fitted with the paddle attachment combine the butter, brown sugar, and granulated sugar. Mix on high until fluffy. Scrape down the bottom and sides of the bowl.
- Add the eggs, one at a time, mixing well between each addition. Scrape the bottom and sides of the bowl again and again.
- With the mixer on low, add a little bit of the flour mixture and then half of the cider mixture. Continue alternating between the two until the batter is combined. Remove the bowl from the stand mixer and, using a spatula, fold the batter a few times to make sure the ingredients are well distributed.
- Transfer the batter to a piping bag or a large zip-close bag with a corner snipped off, and pipe into two of the donut pans. If you don't have two (just like me) bake one tray at a time but make sure you re-spray the pan with non-sticking baking spray.
- Bake until the cake just springs back when gently touched, 15 to 20 minutes.
- While the donuts bake, mix the melted butter and whisky. Reserve.
- Turn the donuts out onto a cooling rack; immediately brush with whisky butter, then dip in the cinnamon sugar both sides.