When your kid’s homework is to cook dinner for you!

My kid made dinner for us!

I’m pretty sure he would have rather spent his Saturday evening playing Call of Duty but he had an assignment for his Life Management class; cooking dinner. And by dinner the teacher meant an appetizer, a main dish, a dessert and a drink.

I was so surprised with his level of enthusiasm. He planned a menu. He shop for ingredients we didn’t have. He prep. He cooked. He set the table and he served dinner. Of course I supervised and help! But only with verbal instructions. I did not touch anything but my glass of wine!

The menu: Caprese salad; Carbonara pasta; Brownies and sparkling wine (which he opened on his own.)

My kid made dinner for us!

Nathan had already helped me a lot in the kitchen before and learned basic safety rules, like not leaving the room when a burner is lighted, and how to hold his fingers when chopping. He had mastered making a few dishes from scratch before like this Thai Curry  dish.

My kid cook dinner for us!

I admit it was a heartwarming (and heart stopping at times) mother-son bonding experience. I am pleased to report that there was no house fire and all fingers are accounted for. We had some yummy A++  home-cooked meal. And, best of all, my boy was proud of his handiwork.

The ‘Deal’ About Kale!

Kale deal @Sprouts

Kale is one trending vegetable. Even if you’re not a foodie or health conscious, it’s been hard to avoid it for the past 3, 4, 6? years. I’ve seen kale T-shirts, books devoted to kale (Fifty Shades of Kale? seriously), hundreds of Instagram images and entire Pinterest boards dedicated to this cruciferous (I had to double check the spelling on that!!!)

Some say kale is good for you. Same say it can be bad. I’m not here to debunk kale myths or reinsure kale benefits. I like kale. My kids like kale. Like any other food, we eat it mindfully which is hard to do when you come across a deal like this one above! (today at our local Sprouts!)

I got excited and probably bought more kale than my family can handle to eat! At the risk of having my kids convert to non-kale-lovers, I’m going to make a whole lotta of kale this weekend.

Below is our family kale favorites but I would LOVE to hear your favorite kale recipe, kale dish from a restaurant or any kale sugestion.

#1 Kids kale dish: Kale Chips (pump up the volume and click on the link!)

Kale chips @dealiciouscooking.com

#2 My favorite way to eat kale: Kale and Quinoa Salad with Spicy Citrus Dressing

Kale and Quinoa salad dealiciouscooking.com

#3 Breakfast kale fix: Sweet Potato & Kale Hash 

Sweet Potato and Kale

#4 The family pleaser: Kale Caesar salad

Kale Caesar Salad

Slow Cooker Split Pea Soup

Split Pea soup

Today I woke up wanting nothing more than to make a big pot of hearty split pea soup. Now, as much as I love it, I don’t make it more than twice a year. It’s delicious, satisfying and great for leftovers but OMG the gas it produces is outrageous. I bet if someone lights up a match at this household tonight we’re all doomed!

I made this batch on the slow cooker with mini hotdogs from Trader Joe’s (all beef, no nitrates, uncured) instead of the usual ham hock or bacon. Add some key spices (turmeric+mustard+oregano+white pepper+bayleaf), some drops of liquid smoke (totally optional) and you have the most fart worthy pea soup ever!

Start by setting up the slow cook for 3-5 hours on high. Diced and saute a medium onion on 1 tsp of olive oil.

Split Pea Soup

Place one package of mini hot dogs (OR the smoke meat of your preference OR no meat for a vegetarian version) and sauteed onions in the slow cooker.

Split Pea Soup

Add one box of chicken or beef broth (1 QT). Fill up the empty box with water and add to the mix. If you like your split pea soup on the thicker side add only half of the water.

img_0010

Next add the 1lb package of rinsed split peas and 1/4 teaspoon of turmeric, oregano, white pepper, mustard; 3 small bayleaves; 1 1/2 tablespoon of salt; 3 drops of liquid smoke (optional); also optional 1 tablespoon of Blackstrap molasses (I put this black-sticky-full of nutrients syrup on just about everything.)

Split Pea Soup

Cover and cook on high 4 to 5 hours or 8 to 10 hours on low until peas are mushy.

Cranberry Sauce Crumble Cake a thanksgiving leftover recipe

Cranberry Crumble Cake

Thanksgiving came and went fast…really fast. For the first time in years, I cooked the right amount of food. Not too much. Not too little. Enough to make a couple of sandwiches the day after. Not enough to make us sick of turkey.

One thing we didn’t manage to finish was the canned cranberry sauce. Yes…CANNED! I’ll whip salad dressings, avoid jar tomato sauce, but when it comes to cranberry sauce the can gets a pass.

And because we had nothing left to go with the it we baked this ‘oh so good’ Cranberry Sauce Crumble Cake. The recipe came from a holiday baking class I took at The Gourmandise School in Santa Monica many years ago. It never fails, no matter what the choice of jam is. I’ve even used Nutella instead of jam. Good every time!

The plan is to eat it with some hot cocoa as we decorate the Christmas tree tonight.

Cheers to a ‘dealicious’ Thanksgiving…onto Christmas countdown!

Cranberry Sauce Crumble Cake

Butter the sides of an 8″ cake pan and preheat the oven to 375F.

In medium bowl, whisk together in this order:

  • 1 egg
  • 1/2 cup of milk
  • 6 tablespoons of melted butter

Add the following dry ingredients to the wet mix in this order:

  • 1/2 cup of sugar
  • 1 cup of flour
  • pinch of salt
  • 2 teaspoons of baking powder

Pour cake mix into the pan and spread evenly. Top the mix with dots of cranberry sauce (I used approximately 1 cup of cranberry sauce. May substitute with any jam or Nutella.) Reserve.

Cranberry Sauce Crumble Cake

Mix the following ingredients for the crumble topping:

  • 6 tablespoons of melted butter
  • 1cup of flour
  • 1/4 brown sugar
  • 1/2 cup sugar
  • pinch of salt

Rub the ingredients until crumbles form and top the cake and sauce/jam with it.

Cranberry Sauce Crumble Cake

Bake for 30 minutes or until crumble top is lightly browned.

Cranberry Sauce Crumble CakeCranberry Crumble Cakeimg_4954


Buffalo Chicken Balls

Buffalo Chicken Balls

You’ve probably seeing this finger food many times before, but I came across this recipe idea for the first time EVER and I had to give it a try right away. How come I have never thought of this before? Although I love the taste of Buffalo Wings I’m not a fan of the “wing” part. These chicken balls are the perfect twist to an American classic. They are so easy to make and eat–no fry (haha), no bones, no skin, no mess!!!!

Now, there are lots of recipes out there for Buffalo Chicken Meatballs, but I came up with this one inspired by Skinny Taste recipe.

Chicken Buffalo Balls

Ingredients:

  • 1 pound ground chicken (I used white meat)
  • 1 large egg (beaten)
  • 1 celery stalk minced (about 1/3 cup)
  • 1/3 cup minced carrots
  • 3/4 cup bread crumbs (or Panko)
  • 2 tablespoons minced onions (or green onions)
  • 1 teaspoon salt
  • 1/2 teaspoon ground black pepper
  • 1/2 teaspoon garlic powder
  • 1 tablespoon wings sauce of your choice

Preheat oven to 400 degrees. Coat a large baking sheet with olive oil and set aside.

On a large mixing bowl, beat the egg lightly adding the hot sauce. Add all the ingredients living the chicken and breadcrumbs for last. Using your hands, mix until combined. Roll chicken mixture into firm, 2 or 3-inch round balls (get your hands lightly wet if the mix is sticking to it) and place on baking sheet. Bake until cooked through, about 20 minutes.

Place the chicken balls in a bowl, add approximately 1/3 of  buffalo sauce and toss to combine. Arrange the chicken balls in a plate and drizzle ranch or blue cheese dressing to finish. Serve with celery, carrot sticks and a side of dressing.

Buffalo Chicken Balls

Let’s pretend it’s fall. Coconut Mango Curry Butternut Squash Soup!

Coconut Mango Green Curry Butternut Squash Soup

Right now, I’m sipping hot coffee, and it’s like 90F outside. I have a tank top on and I’m about to bring the fan out of its very short retirement in the garage.

This Coconut Mango Green Curry Butternut Squash Soup (try saying that in one breath) is good all year long. However, squashes are in season and I bought a Costco size tray of precut organic butternut squash (I do not enjoy peeling and cutting those monsters.)

It doesn’t look like fall weather is upon us anytime soon. So let’s just pretend it’s fall in Southern California and make some soup!

100% good for you ingredients. Coconut oil, butternut squash, mango, and coconut milk. The mango brings even more the sweetness of the butternut squash and adds texture to the soup. I added Sriracha to my serving to save the kids from the heat, but a teaspoon or two can be added to the recipe. I also added some of the last green leaves of thai basil from my almost dead herb garden. [sigh]

Coconut Mango Green Curry Butternut Squash Soup Coconut Mango Green Curry Butternut Squash Soup Coconut Mango Green Curry Butternut Squash Soup Coconut Mango Green Curry Butternut Squash Soup

Coconut Mango Curry Butternut Squash Soup!

Dominique
Prep Time 15 minutes
Cook Time 30 minutes
Total Time 45 minutes
Cuisine American Thai

Ingredients
  

  • 1 tablespoon coconut oil
  • 2 cloves garlic minced
  • 1 small yellow onion diced
  • tablespoons Thai green curry paste
  • 2 cups chicken or vegetable broth
  • 1 2 lb. tray of precut butternut squash got it @ Costco OR 4 cups butternut squash, peeled, seeded, and cut into cubes
  • 2 cups of mango chunks fresh or frozen
  • 1 15-ounce can whole coconut milk (can be sub. for light)
  • 1 teaspoon salt
  • ½ teaspoon Sriracha optional
  • 3 or 4 Thai basil leaves optional

Instructions
 

  • Start by reserving the frozen mango (if using frozen) and letting it thaw while you work on the soup.
  • Heat the oil in a large soup pot over medium heat. Add in the garlic and onion, and saute about 3 minutes.
  • Add in the raw butternut squash cubes, pour in the broth, and add the curry paste plus salt stirring to combine. Cook for 3 more minutes, stirring often. Bring to a boil and then reduce heat to a simmer and cover. Cook for 20 minutes, or until butternut squash is tender. Remove from heat and let cool for a few minutes.
  • Add the mango to the soup. Use a handheld mixer to blend the soup directly in the pot or pour the soup into a blender in batches and blend until smooth. Pour the blended soup back into the soup pot over medium heat.
  • Before serving, remove from heat and mix in the coconut milk slowly. Mix well. Pour into bowls and top with some Sriracha sauce.

Notes

The coconut milk is added last, after the soup has been blended. That way you can control the thickness of the soup.


How to eat Spain in 14 days! Second stop…A Coruña

There are so many things I hate about A Coruña; the cold weather, the humidity, the old fishing town feeling, the smells. Some of my worst memories were made there. But, somehow the Galician food seems to make up for all the bad memories, bad smells and bad feelings.

A Coruña has been a hub of the Galician fishing industry for centuries. Its cuisine centers around seafood, which is great both at the cheap and at the more formal marisquerias (seafood restaurants.) Polbo á feira (octopus served with olive oil, Spanish paprika and coarse sea salt) it’s the big “star”. You can find it pretty much anywhere in Galicia, but we had our share at the Pulpeira Maria Pita in A Coruña.

Pulperia Maria Pita

Although the octopus gets most of the credit, there’s so much more in the Galician menu. Delicious Caldo Gallego (Potatoes boil in broth together with chunky white beans, radish greens, pork belly, and usually chorizo, ribs, and other cuts of pork), empanada Gallega, Tarta de Santiago, Galician cheese, and the unbelievable bread (Pan de Cea) that you’ll need to sop up the last drops of just about any dish you eat in Galicia!

Galician Blond Beef

And there is Galician beef. Apparently, Galician Blonds (retired dairy cows, which can be as old as 14 years) have become as “famous” as the traditional Galician pulpo these days. Top chefs in Spain and England are willing to pay a small fortune for the beef which is on the menu of some of the best restaurants in A Coruña. These elderly cows’ milk is used to create the region’s speciality Tetilla cheese. Their meat is marbled naturally with fat created over the years, giving a deeper flavor than other beef.

Unfortunately, I learned all of that too late and we didn’t have a chance to try these old fat cows that, just like wine, get better with time. But we ate Galician beef at this weird (for lack of better word) place called A’gramalleira. Now, bare with me as I try to describe this cookware. As you can partially see in the picture below, the Gramalleira is a metal cone with spears. Meat cubes are placed in each spear. The Gramalleira, which looks more like a torture instrument rather than cookware, is than placed in a hook and it hangs over a fire pit. The meat cooks. The cone is transferred to a platter and yet hangs on another hook. Underneath the cone sits a bowl of steamed rice which sucks all the meat drippings. But wait! Once they bring the plater with the hanging meat+rice+3 different dipping sauces to your table, the server pours some type of liquor over the hanging meat and lights it up on fire. The meat hangs there all caramelized, the smoke intoxicates your senses, and the rice is swimming in juice.

A Gramalleira

Despite my “no love” for A Coruña, I have to admit that our time there was filled with great food and some very special memories. I’m so thankful my husband and kids were there with me this time. It made every little bite tastier and some of the bad memories less bitter.

Also, while in A Coruña…

Try Percebes (Goose barnacles)

Try Percebes (Goose barnacles)

Go Pokemon Go with the locals

Go Pokemon Go with the locals

Fry some local eggs

Fry some local eggs

Drink this or ANY Albariño

Drink this or ANY Albariño


How to eat Spain in 14 days. First stop…Madrid!
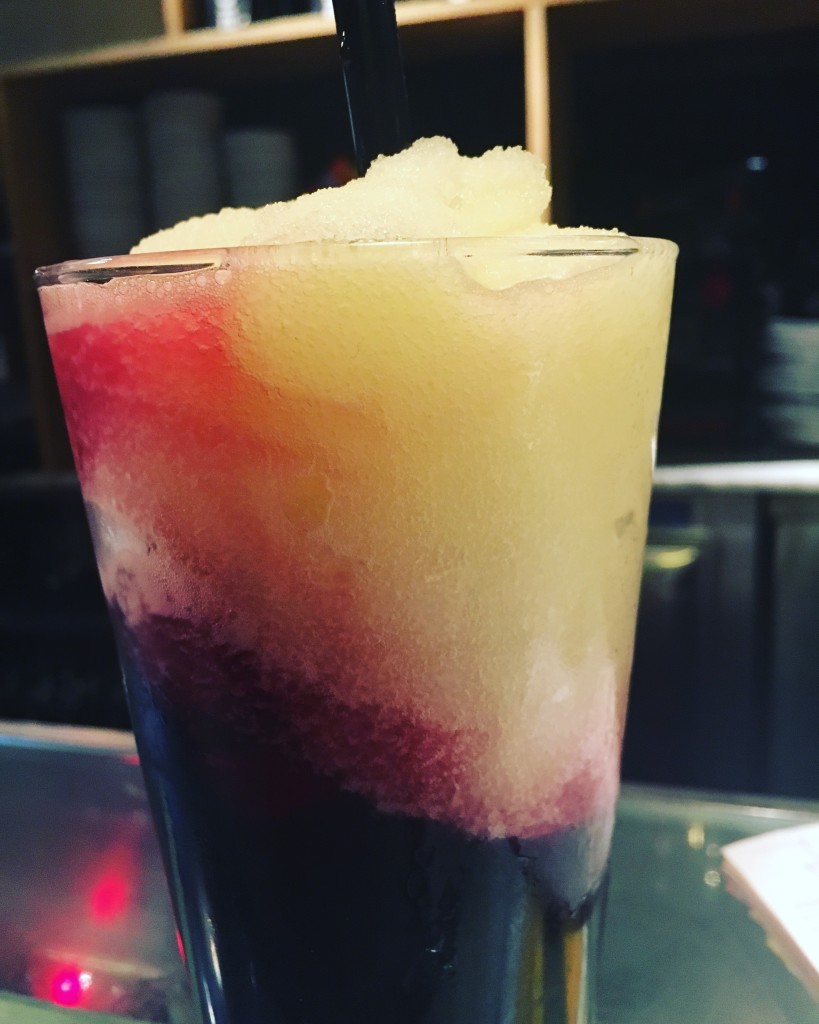
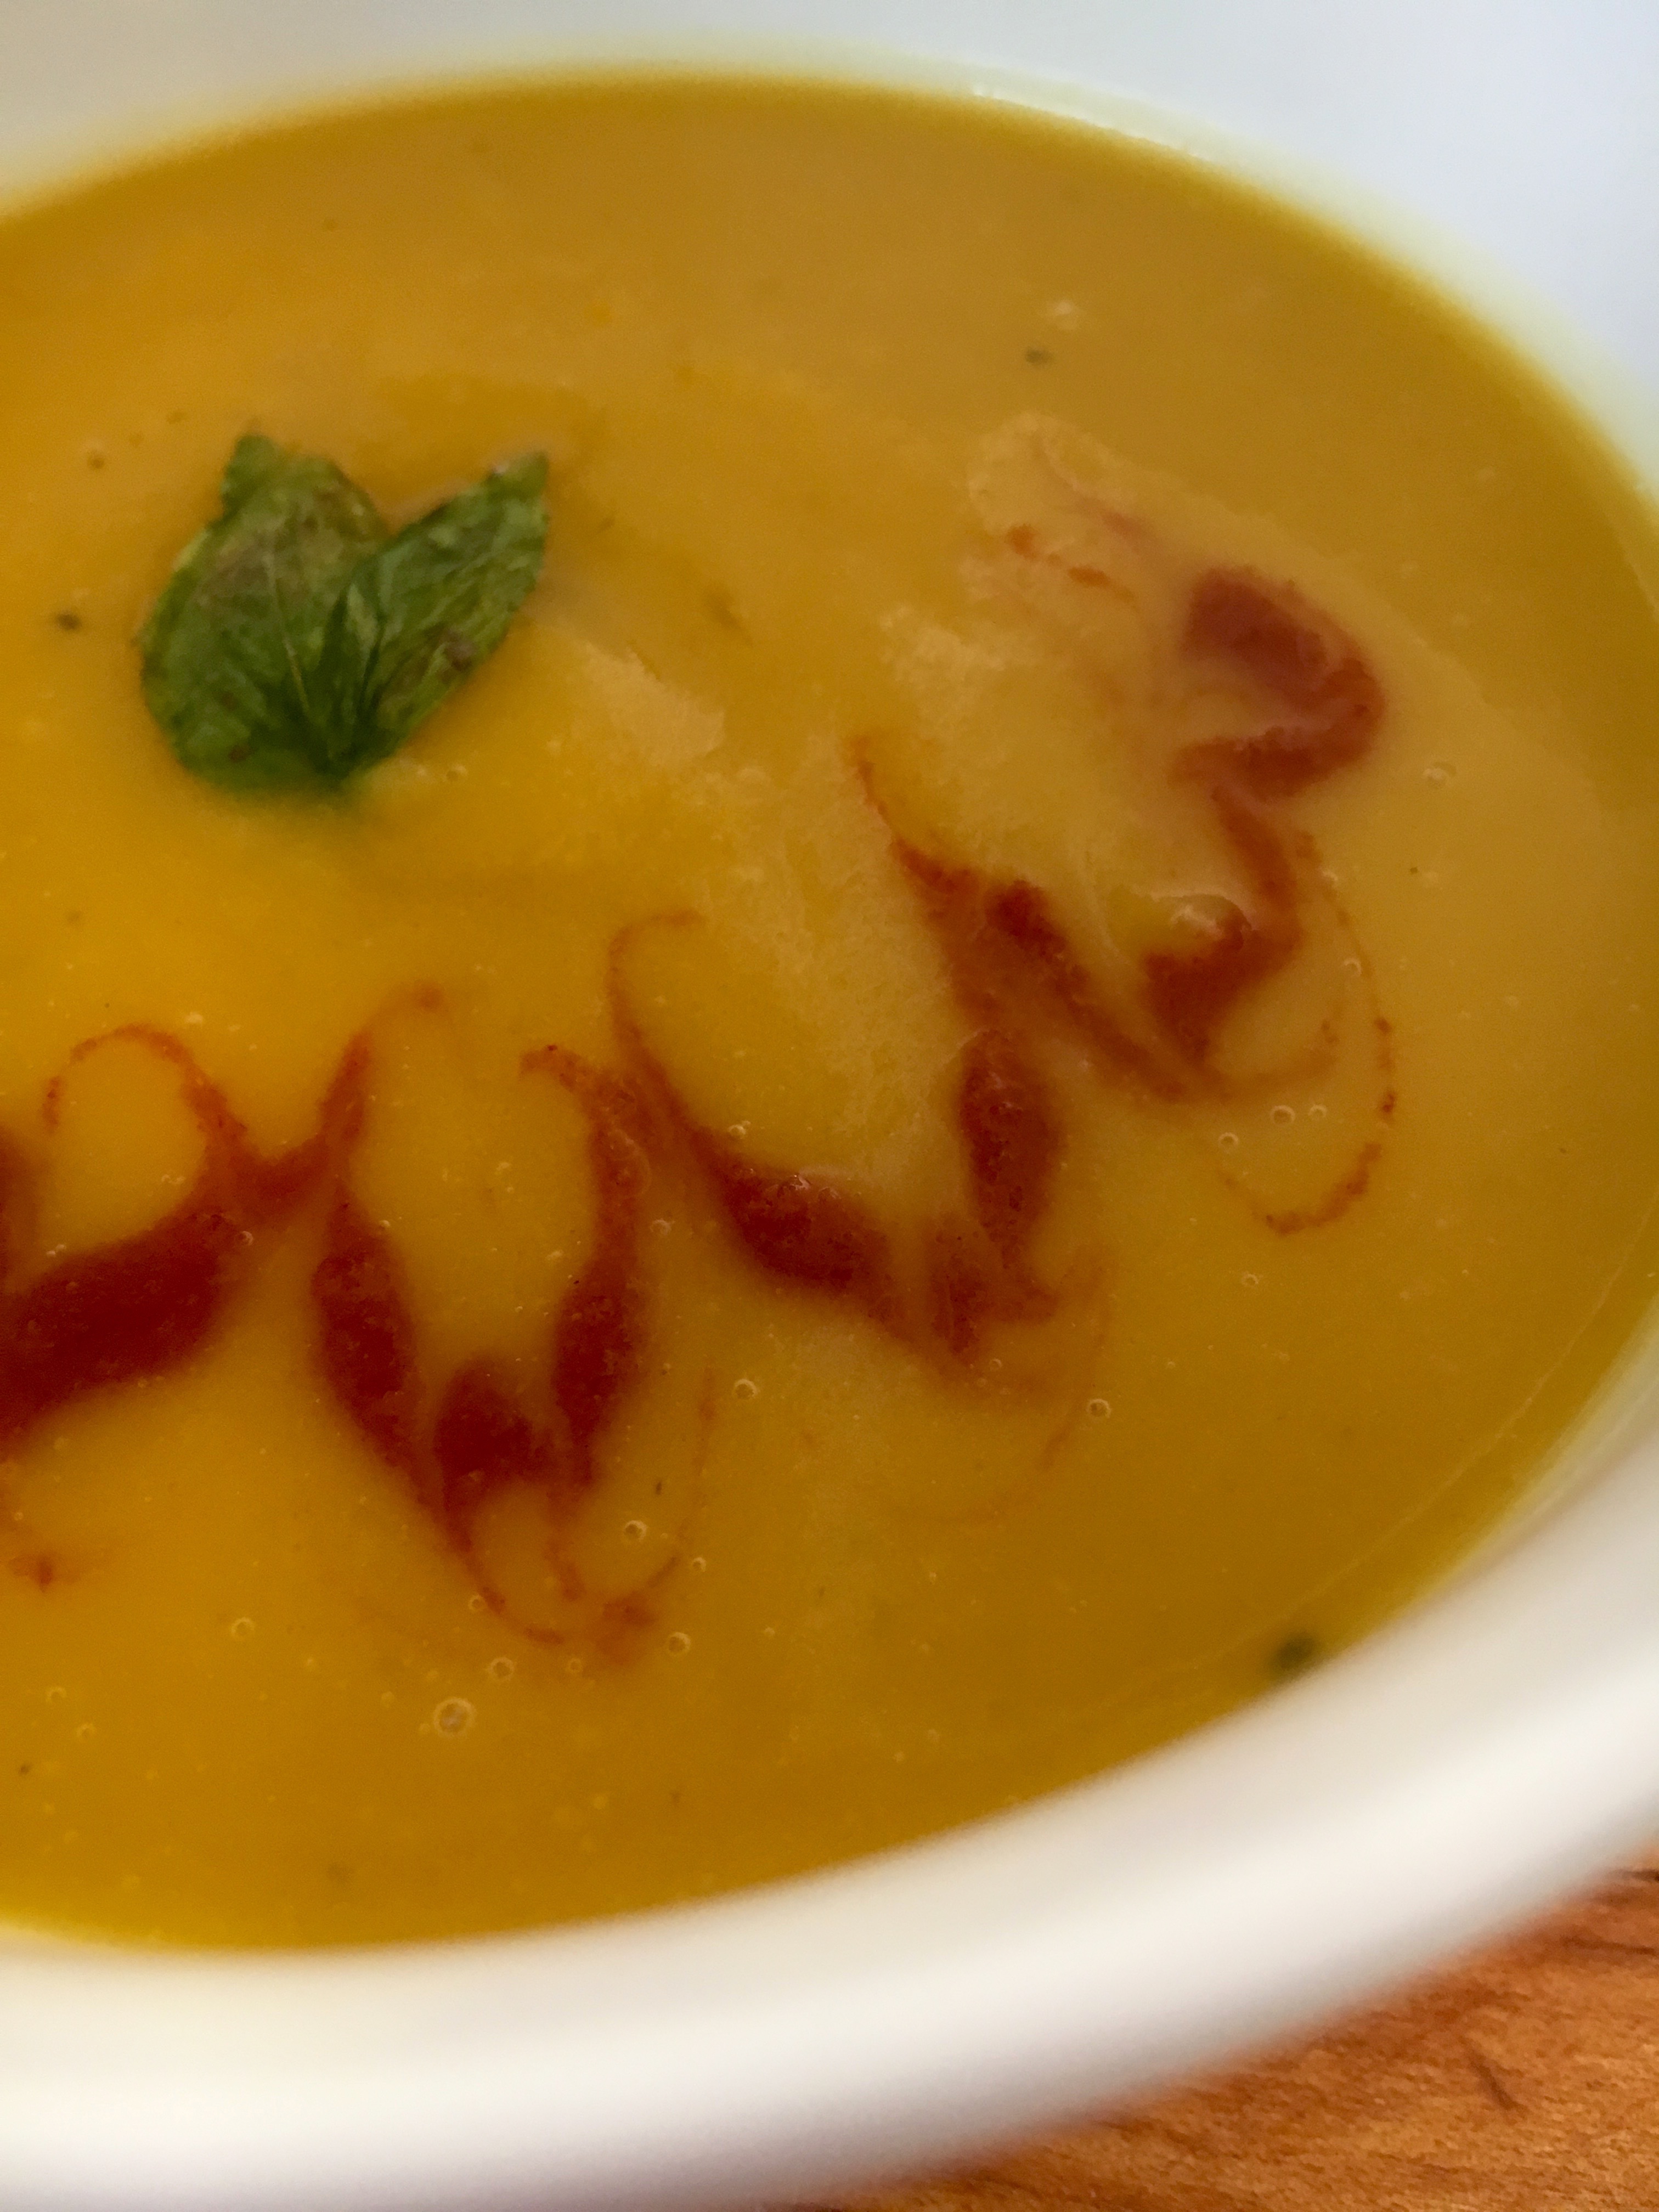
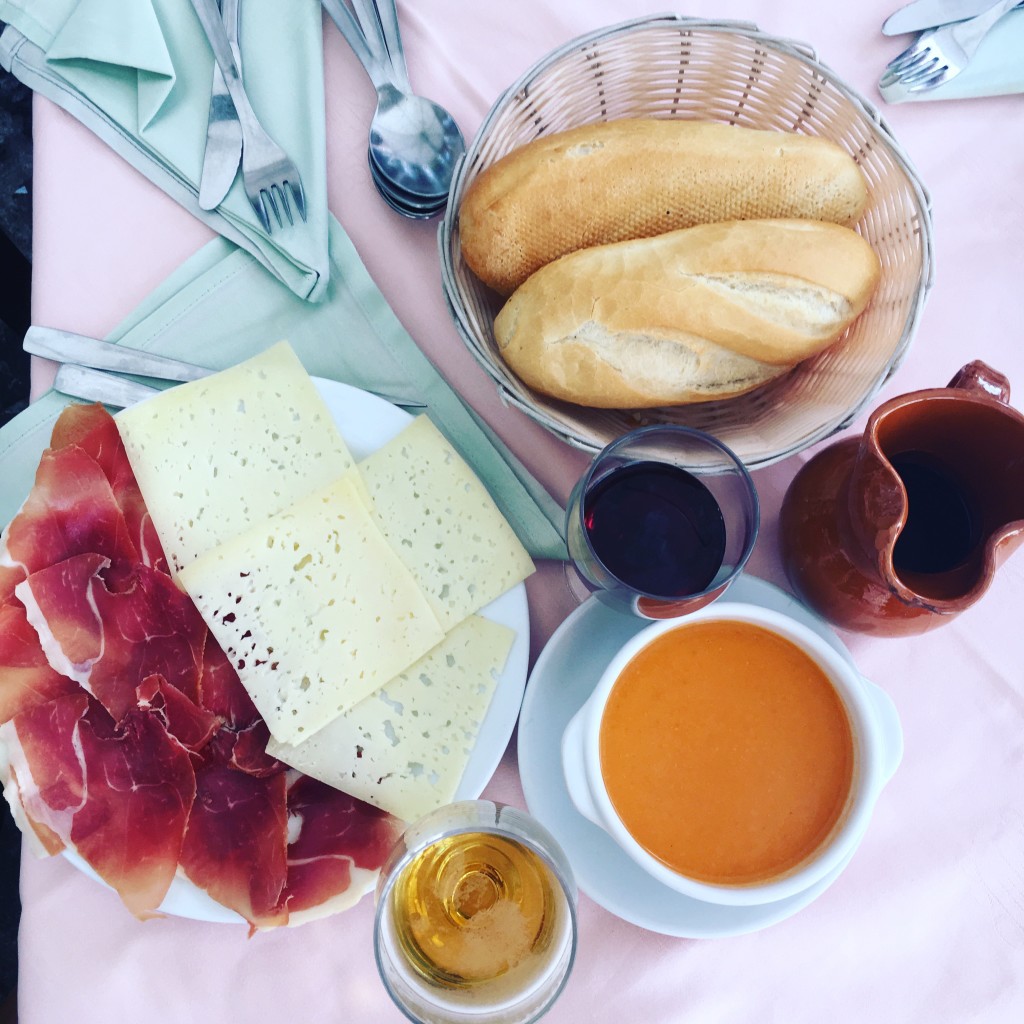
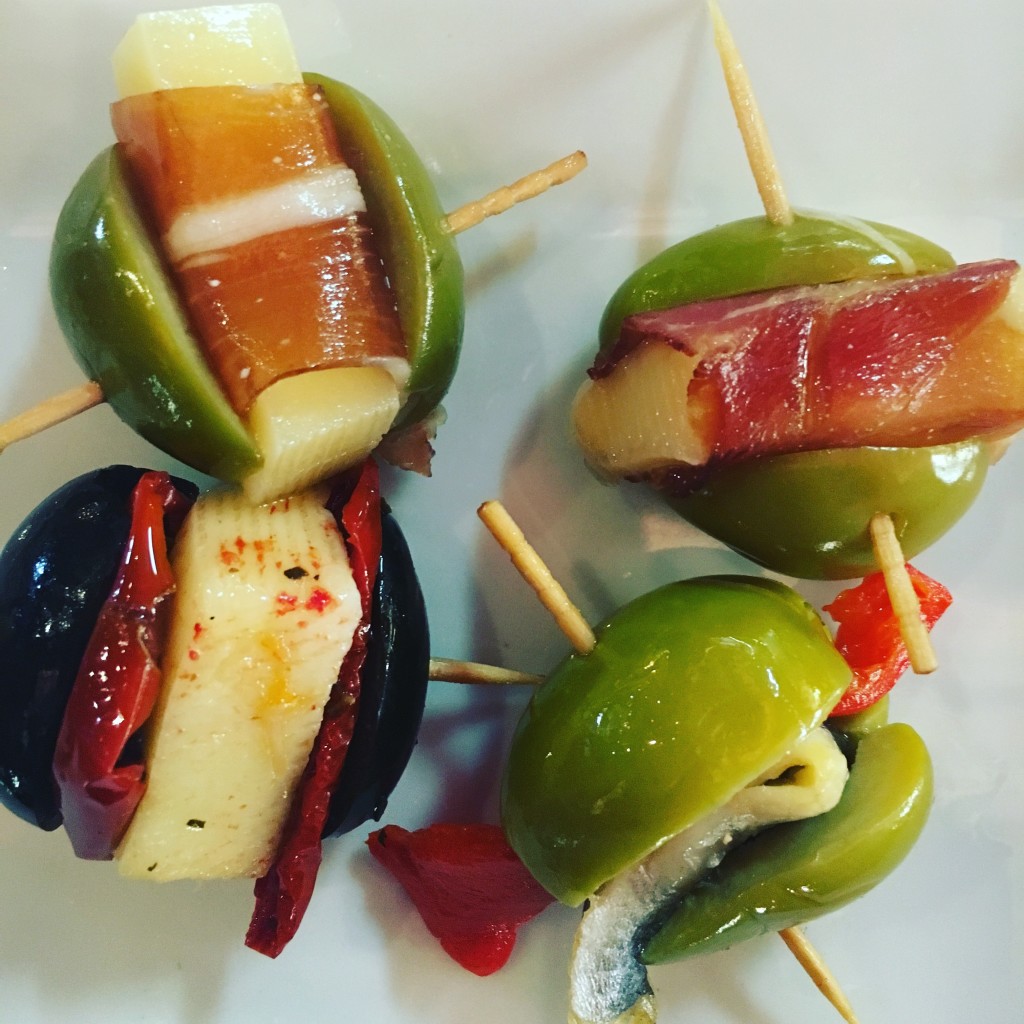
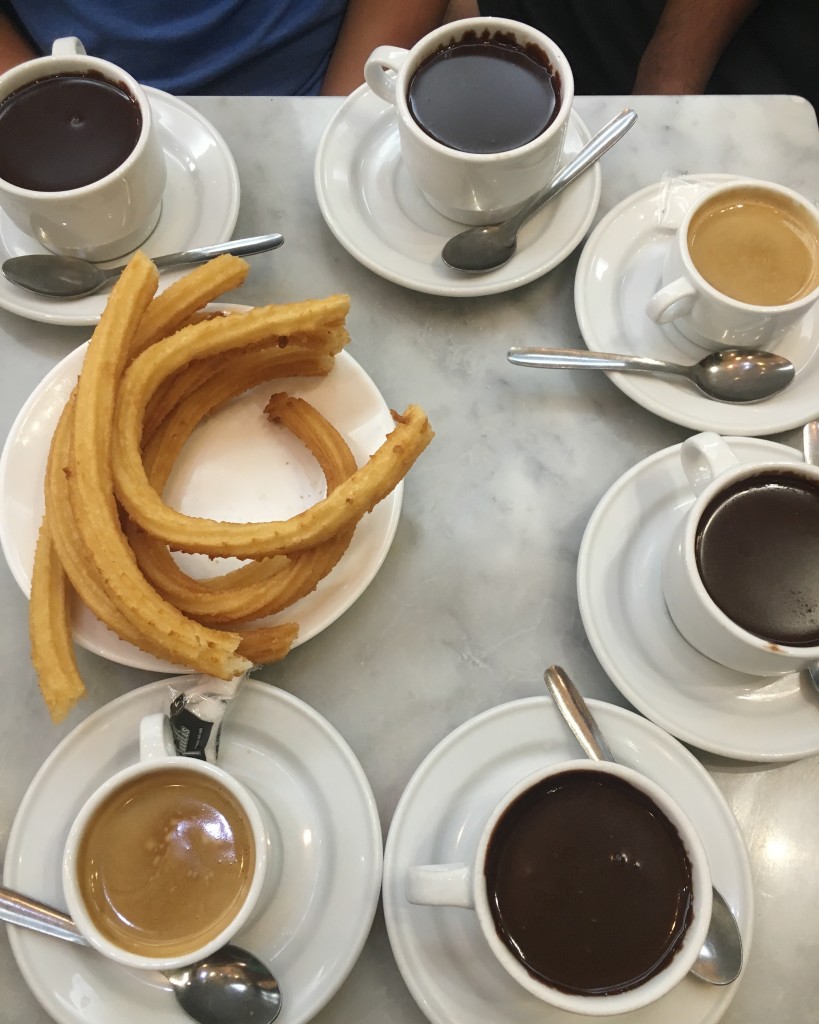
We had 14 days divided in 3 cities in Spain; Madrid, A Coruña and Barcelona. Parks, castles, churches, cathedrals, more castles, some museums, lots of plazas (squares), like a thousand of monuments,  a couple of beaches, family visit, and a whole lotta of food in between.

Although fascinating and honestly mind blowing, I won’t bore you with my mediocre writing of all of the historical sites and incredible experiences we had in Spain as a family. Rather, I’m going to try to taste Spain again through these pictures and hopefully make your mouth salivate as much as my did…does! It is no Elizabeth Gilbert’s “Eat, Pray, Love”  but almost more rewarding!

When in Madrid…

A CoruñaComing up next (after laundry, soccer practice, soccer games, volunteering, cooking, more cooking, endless dishes and hopefully a shower…maybe two!)

Until then Cheers…Salud!

5 days out in LA

The kids went to camp away for 5 days and this is how we coped.

Pizzeria Mozza — Best pizza crust I’ve tried in LA but the Butterscotch Budino with caramel and sea salt (pictured bellow) was the highlight of our meal. And I don’t even like butterscotch! I’d do it all over again and again and again! Grazie Chef Batali and friends!

IMG_3109 IMG_3110

Mud Hen Tavern –Ahhh…The Kaya toast, a Singaporean style dish made with toasted bread slathered in coconut jam, topped with a soft fried egg and soy sauce. Sweet, salty and weird…but so good. The Green Deviled Egg with homemade green Sriracha was the best $3 we spent all week.

IMG_3114

Mud Hen Tavern

The Happy Hour at East Borough in Culver City was surprising good! Probably not the best choice for authentic Vietnamese food but we wouldn’t know any better. The spicy fish sauce chicken wings was our favorite dish, but the Bahn Mi and chicken grapefruit lettuce wraps were excellent too!

East Borough IMG_3122

Bestia– Hype? Yes, no doubt. Regardless, we had a great experience. Our cocktails were perfection. The Veal Tartare Crostini and Roasted Bone Marrow did not blew me away but I’ll come back just to taste the Cavatelli alla Norcina (Ricotta dumplings, housemade pork sausage, black truffle) one more time.

Bestia IMG_3129 IMG_3130 IMG_3148

Perch LA— Traditional cocktails, a view and live music. I feel in love with Perch.

Perch LA IMG_3145

The Hungry Cat Santa Monica– Parking is tough and valet service was not available at the time we got there. I asked the hostess where to find parking around there and she innocently said “I don’t know. My mom drops me off.” What can I say? It was 5pm on a Tuesday. I had high expectations for this place but the food was ‘just’ ok and the cocktails were ‘just’ not good. Average oysters, fishless ceviche, a strange tasting Michelada and we move on to our next eatery. Glad we didn’t valet!

The Hungry Cat SAMO IMG_3165

Flores + Sons–Sure there’s Kale salad in the menu but we have no shame. We ordered the potato rolls with maple butter and guilt free crudo with crab and avocado. Both excellent!

IMG_3161Fores and Sons

Mccormick and Schmicks— It was late, we were hungry and childless for one more night so we headed out to M&S late happy hour. It has been 18 years since my first time here and it still remains one of my favorites.

M&S IMG_3189 IMG_3190

I’m thankful for the tasty memories but I’m happy to have my little Frys back.

Now…Where do I sign-up for spinning classes?

Cooking with kids plus Thai Curry recipe

Cooking with Kids

Here is the raw truth. I cook but I don’t cook well with others. Especially when they are my own children. So I’ve decided to make a great effort to face my cooking selfishness and share this skill with my kids. I do it once in a while and require a lot some wine prior to the cooking commences.

Cooking is a life skill on the verge of extinction. I want my kids to know how to cook—not to impress but just to survive…not in the wild…just in the real world. Maybe I’m just too optimistic, but if they can throw some fresh ingredients together without losing any fingers and getting burnt I’ll be happy. Apart from that, there’s always cereal and milk.

I poured a glass of wine and got cooking with my 12-year-old son. He loves Thai food. So do I. Since my 9-year-old daughter (the picky eater who hates Thai food and seafood) was out on a sleepover we decided to make Thai Shrimp/Squid Curry. It may sound fancy, but it’s easy and quick. We finished the dish before I could finish my second glass of wine. Check it out!

Thai Shrimp Curry with kids

This recipe was for two so it only required one pound of shrimp and squid combined. My son chopped the onion and sliced the bell pepper with my supervision. I sipped my wine when he was done. Big sips. He also washed the shrimp+squid and gathered the ingredients. I chopped the lemongrass, a totally optional ingredient.

The real challenge was watching him try to open the can of coconut milk. O.M.G. More wine, please. How many of you out there have taught a kid to open a can? Specifically a boy? It wasn’t going well for us so I gave up. I opened the can myself. The “how to use a can opener” lesson would have to wait.

We started by sautéing the onions, bell peppers and lemongrass in hot coconut oil for about 3 minutes. Next, we added the shrimp+squid which let out some liquid. We used the liquid as a base to dissolve the curry paste and peanut butter. Then we added coconut milk, salt, and some sugar. We tasted. Not sweet enough. More sugar, a dash of pepper flakes and some basil leaves.

Thai Shrimp Curry

We let it simmer for about 5 minutes and served immediately over jasmine rice. My son plated and garnished it and this is what we ended up with:

Thais Shrimp Curry

No finger casualties. Only happy and spicy memories (despite the can opening moment.) Cooking with kids can be fun but here is the deal: keep it simple, cook something they like to eat, and let them do most of the work (including the cleaning!)

Cooking with kids Thai Curry

This recipe works with any protein (beef, chicken, seafood and even tofu) It's easy enough to do it with kids. Make the rice before you start the curry.
Cuisine Easy Thai

Ingredients
  

  • 1 pound shrimp seafood, chicken, beef or tofu
  • 2 tablespoons refined coconut oil can be replaced for vegetable or canola oil
  • 2 tablespoons red Thai curry paste
  • ¼ teaspoon kosher or sea salt
  • 1 stick of lemongrass chopped optional
  • ½ red/purple onion peeled and diced
  • ½ red bell pepper seeded and sliced
  • 1 cup coconut milk
  • 2 tablespoons peanut butter
  • 1 tablespoon brown sugar
  • ¼ teaspoon red chili flakes optional
  • 2 teaspoons ground ginger optional
  • 2 tablespoons basil leaves chopped
  • cilantro chopped or whole to garnish
  • 1 lime cut in quarters

Instructions
 

  • Rinse shrimp or seafood getting it ready to cook (if you using beef/chicken/tofu just cut it in 1 inch cubes.)
  • Heat the coconut oil on a skillet over medium high heat. Add the onion, peppers, lemongrass and cook until softened.
  • Add the shrimp or whatever protein of your choice. Cook it until ready (for seafood no longer then 4 minutes.)
  • Add curry paste, peanut butter and a little bit of the coconut milk mixing it until all is dissolved and combined.
  • Add the remaining coconut milk, basil, ginger, salt, sugar and pepper flakes.
  • Bring to a boil then reduce to simmer.
  • Serve over rice or noodles. Garnish with more cilantro and basil, and a splash of lime juice.